
1. Introduction: Why Replacing a Mixing Valve for Tempered Water Matters
Mixing valves for tempered water are essential components in regulating the temperature of water that comes out of taps or showers. These valves are designed to mix hot and cold water to achieve a safe, comfortable temperature for use. Over time, however, these valves can wear out or malfunction, leading to inconsistent water temperatures or even scalding risks.
If you notice fluctuations in water temperature, it may be time to replace your mixing valve. In this guide, we’ll walk you through the process of replacing a mixing valve for tempered water, offering you the knowledge to handle this simple yet important home maintenance task.
2. Understanding the Function of a Mixing Valve for Tempered Water
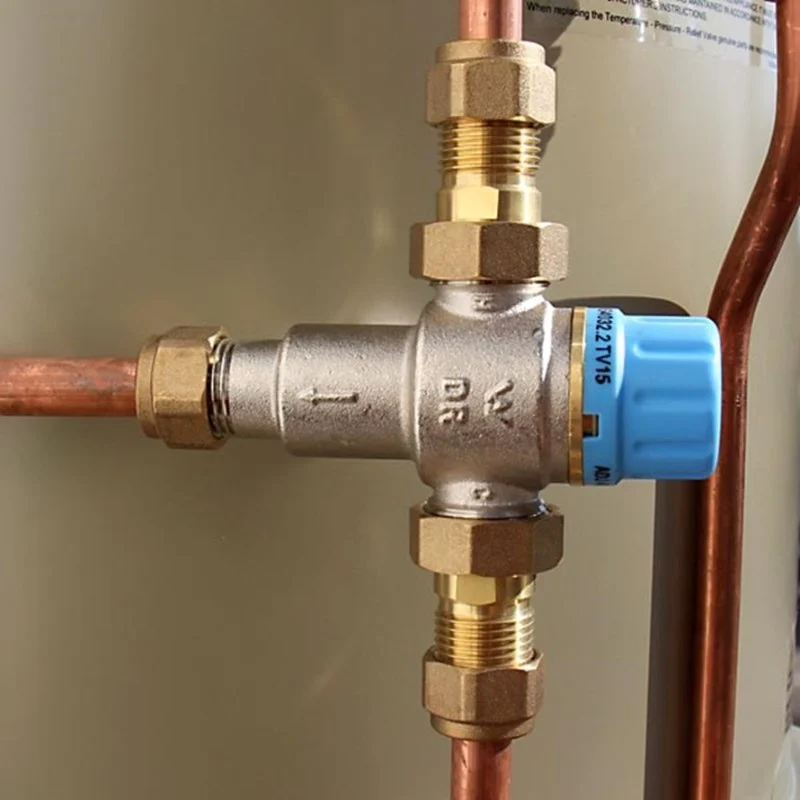
Before diving into the replacement process, it’s important to understand how a mixing valve works. A mixing valve is designed to blend hot and cold water, ensuring that the temperature of the water you use is safe and comfortable. These valves are especially important in environments like bathrooms and kitchens, where water temperature control is critical for comfort and safety.
Aqua Squad Plumbing Irvine
301 Spectrum Center Dr, Irvine, CA 92618, USA
2.1 Key Components of a Mixing Valve
The main components of a mixing valve include:
- Hot and Cold Inlets: These allow the hot and cold water to enter the valve.
- Thermostatic Control: This component regulates the water temperature by adjusting the mix of hot and cold water.
- Outlet: The mixed water exits the valve to the faucet or showerhead.
Over time, mineral deposits, sediment, or simply wear and tear can cause the valve to malfunction, requiring replacement.
3. Signs That Indicate It’s Time to Replace the Mixing Valve
Replacing a mixing valve is often necessary when it starts showing signs of wear. Here are a few common indicators that your mixing valve may need replacing:
3.1 Inconsistent Water Temperature
If you experience fluctuating water temperatures, it’s likely that the mixing valve is no longer functioning properly. This can be dangerous, especially if the water temperature suddenly becomes too hot, risking burns or scalds.
3.2 Low Water Pressure
Low water pressure can also be a sign that the mixing valve is clogged or damaged. Over time, mineral buildup or debris can affect the valve’s ability to control the flow of water properly, resulting in reduced water pressure.
3.3 Leaking Valve
If you notice water leaking around the mixing valve, it may be a sign that the internal components are worn out or damaged. This is another clear indicator that a replacement is necessary.
4. How to Replace a Mixing Valve for Tempered Water
Replacing a mixing valve is a relatively straightforward task that can be done with basic plumbing tools. Follow these steps for a successful replacement:
4.1 Step 1: Turn Off the Water Supply
Before you begin, make sure to turn off the water supply to the area where you’ll be working. This will prevent any water from flowing while you remove the old valve and install the new one. If the valve is connected to the main water supply, you’ll need to shut off the entire water supply to the house.
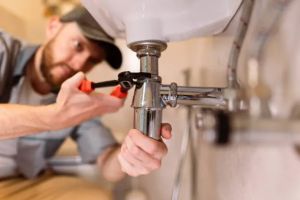
4.2 Step 2: Remove the Old Mixing Valve
Once the water supply is off, locate the mixing valve. You may need to remove any surrounding fixtures or access panels to expose the valve. Use a wrench or pliers to disconnect the hot and cold water pipes from the old valve. Be sure to place a towel or bucket underneath to catch any remaining water in the pipes.
4.3 Step 3: Install the New Mixing Valve
With the old valve removed, it’s time to install the new mixing valve. First, check the new valve for any seals or components that need to be attached. Connect the hot and cold water pipes to the corresponding inlets on the new valve, ensuring they are tightened securely. Make sure the outlet of the valve is correctly positioned to direct water to the faucet or showerhead.
4.4 Step 4: Test the New Valve
Once the new mixing valve is installed, turn the water supply back on. Test the water temperature by running hot and cold water through the valve. Adjust the temperature settings as needed and ensure that the valve is functioning properly, providing consistent and safe water temperatures.
4.5 Step 5: Check for Leaks
Finally, check all connections for leaks. If any leaks are present, tighten the connections slightly to ensure a secure seal. Once you’ve confirmed there are no leaks, you’re done!
5. Tips for Maintaining Your Mixing Valve
To prolong the life of your mixing valve and prevent future issues, it’s important to maintain it regularly. Here are a few tips to keep in mind:
5.1 Regularly Flush the System
Mineral deposits can build up inside the valve, affecting its performance. Periodically flush the system by running hot water through the valve for a few minutes. This will help clear any debris and prevent clogs.
5.2 Check for Leaks
Regularly inspect the valve for any signs of leaks or wear. If you notice any issues, address them promptly to avoid larger problems down the line.
5.3 Use Water Softener
If you live in an area with hard water, consider installing a water softener. This can reduce the buildup of mineral deposits inside the mixing valve and other plumbing fixtures, extending their lifespan.
6. Real-Life Example: Replacing a Mixing Valve in My Home
When I first noticed fluctuating water temperatures in my shower, I knew it was time to replace the mixing valve. I decided to tackle the job myself after watching a few tutorial videos online. The process was straightforward, and after about an hour of work, I had a brand-new mixing valve installed. The difference was immediate—water temperature remained steady, and I no longer had to worry about scalding hot water in the shower. Replacing the valve myself not only saved me money but also gave me the satisfaction of completing a home improvement project.
7. Conclusion: Keep Your Water Flowing Smoothly
Replacing a mixing valve for tempered water is a relatively simple process that can significantly improve your water temperature control and overall comfort. By following the steps outlined in this guide, you can easily install a new mixing valve and maintain your plumbing system for years to come. For more tips on plumbing and home improvement, visit Plumbers Supply Hub for expert advice and quality products.


 Faith plumbing company4.0 (17 reviews)
 Water Works Services LLC4.0 (10 reviews)
 Frans Plumbing5.0 (12 reviews)
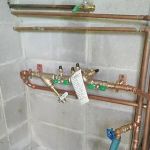 Blue Tower Plumbing and Ice Solutions5.0 (14 reviews)
 Superior Sewer Solutions5.0 (18 reviews)
 Plumbing Shoppe5.0 (7 reviews)
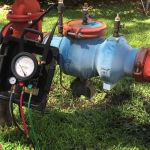 How to Test Backflow Preventers Annually: A Step-by-Step Guide
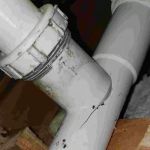 How to Prevent Leaks from Expanding Joints in Pipes: Tips for Homeowners
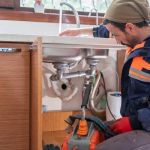 The Complete Guide to Replacing a Kitchen Sink Drain
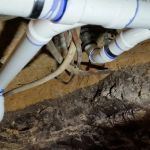 How to Repair a Junction That Is Leaking Under Slab
 How to Prevent Frozen Pipes During the Winter
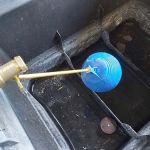 How to Replace a Float Valve in a Rain Barrel System