
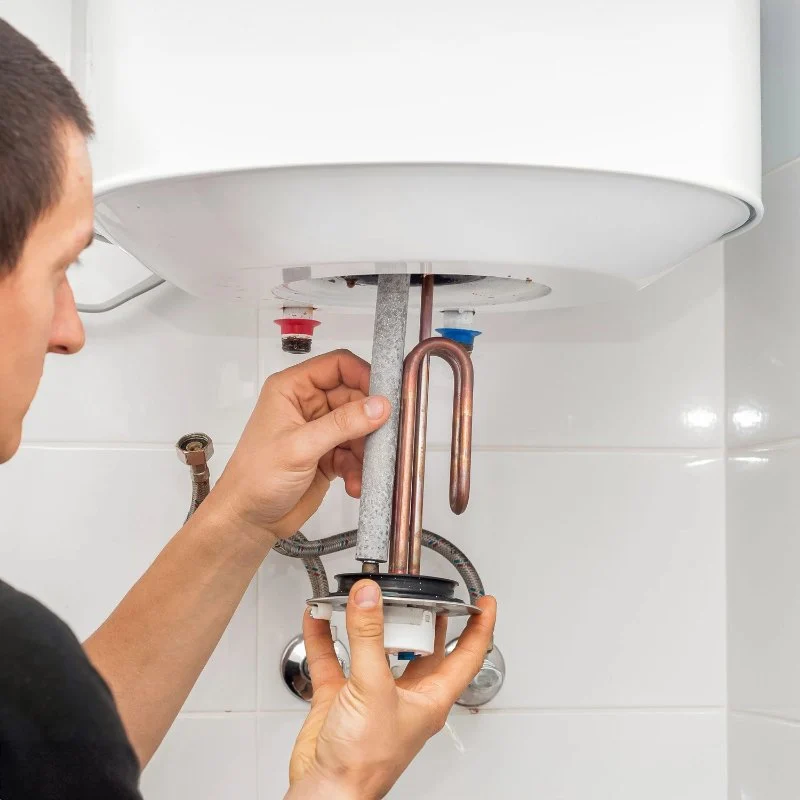
How to Replace a Water Heater Anode Rod
- 1 - Turn Off Water and Power
- 2 - Locate the Anode Rod
- 3 - Remove the Old Anode Rod
- 4 - Install the New Anode Rod
- 5 - Reassemble and Test
Replacing the anode rod in your water heater is one of the best ways to extend its lifespan and ensure your water remains free of odors. The anode rod plays a crucial role in preventing corrosion inside your water heater by attracting minerals in the water, thus protecting the tank. Over time, the anode rod will degrade, and replacing it can save you from costly repairs or even the need for a complete water heater replacement. This step-by-step guide will walk you through how to replace a water heater anode rod. Additionally, you can find the necessary parts and more through Plumbers Supply Hub for all your plumbing needs.

Roto-Rooter Plumbing & Water Cleanup
492 W 2nd St Ste 210, Xenia, OH 45385, USA
1. Turn Off Water and Power
Before you start working on your water heater, safety is the first priority. First, turn off the power supply to the water heater. If you have an electric water heater, switch off the power at the breaker box. For gas water heaters, turn the gas valve to the "off" position. Then, turn off the cold-water supply valve that feeds into the water heater. This ensures there’s no water flowing into the heater while you work on it.

2. Locate the Anode Rod
The anode rod is typically located at the top of the water heater, and there are two common types: the hex-head anode rod and the threaded rod. To access it, you’ll need to remove the tank’s top cover. In most cases, it’s located near the hot water outlet. If you are unsure of its exact location, consult your water heater’s manual or manufacturer’s instructions for details. If you can't find it right away, look for the large bolt or cap that covers the area where the rod is installed.
3. Remove the Old Anode Rod
Once you’ve located the anode rod, use a socket wrench to remove it. The rod may be tightly secured, so you might need to apply some force to loosen it. If it's particularly stubborn, a breaker bar or a cheater pipe may be helpful in providing extra leverage. If the rod is too difficult to remove because it’s corroded or stuck, you can try applying some penetrating oil and letting it sit for a while. Be sure to remove any debris around the anode rod area to keep the installation clean.
4. Install the New Anode Rod
Now it’s time to install the new anode rod. Place the new rod into the same location as the old one, making sure it's aligned properly. Tighten it with a socket wrench until it’s secure, but avoid over-tightening, which could damage the threads or the water heater. If your new rod comes with additional features, like a protective coating, follow the manufacturer’s instructions carefully to ensure proper installation.
5. Reassemble and Test
Once the new anode rod is securely in place, reassemble any parts you had to remove, such as the tank’s cover or any insulation. Next, turn the water supply back on and allow the tank to fill with water. Check for any leaks around the anode rod area. After the tank is full, turn the power or gas supply back on, and test the water heater by running hot water in a faucet or shower. If everything is working properly, the new anode rod is doing its job and your water heater is good to go!
By replacing your water heater's anode rod regularly, you can significantly extend its lifespan and keep your hot water free from unpleasant odors. If you need help finding the right parts for the job or want to ensure your water heater is in top condition, visit Plumbers Supply Hub for the best products and services in your area.


 Ingenious Plumbing & Rooter Services4.0 (23 reviews)
 A&A Plumbing Solutions4.0 (19 reviews)
 Rocket Plumbing5.0 (73 reviews)
 George Kauffman Plumbing0.0 (0 reviews)
 A-Alpha Plumbing & Heating Inc, Tuscaloosa Office4.0 (16 reviews)
 NCD Corsillo Plumbing LLC4.0 (5 reviews)
 How to Prevent Toilet Clogs: Simple Tips Every Homeowner Should Know
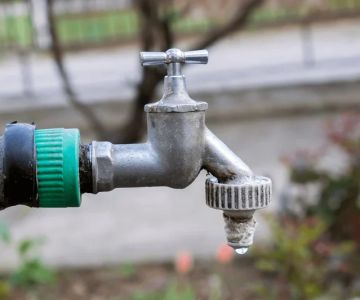
 How to Fix a Dripping Faucet Without Calling a Plumber | Plumbers Supply Hub
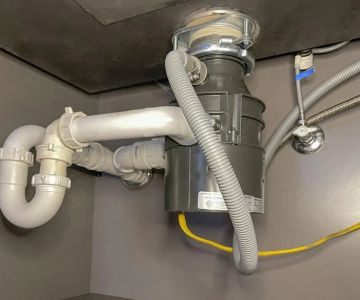
 How to Prevent Settling Damage to Plumbing Joints: Tips and Solutions
 How to Prevent Clogged Drains: Everyday Habits You Should Adopt
 How to Safely Drain a Water Heater Before Moving: Step-by-Step Guide
 How to Eliminate Corrosion in Hard Water Homes