
- 1. Why Replace Outdated Plumbing Fixtures?
- 2. Preparing for the Replacement
- 3. Steps to Replace an Outdated Plumbing Fixture
- 4. Safety Tips for Plumbing Replacement
- 5. When to Call a Professional
1. Why Replace Outdated Plumbing Fixtures?
Replacing outdated plumbing fixtures in your home is not just about aesthetics—it’s also about functionality and safety. Over time, older plumbing fixtures such as faucets, toilets, and showerheads can become inefficient, causing higher water bills and even potential water damage. Moreover, older fixtures may have wear and tear that can lead to leaks, rust, and corrosion, which can cause long-term damage to your plumbing system. Updating your fixtures not only enhances the look of your bathroom or kitchen but also improves the overall efficiency and safety of your home.
Fast 24 Plumbing
Los AngelesLos Angeles CountyCalifornia
19205 Parthenia St unit e, Northridge, CA 91324, USA
2. Preparing for the Replacement
Before replacing a plumbing fixture, it’s important to prepare properly to ensure the replacement is successful and safe. Here are some key steps to take before getting started:
- Assess the Fixture: Identify the specific fixture you need to replace. Whether it’s a faucet, showerhead, toilet, or pipe, understanding the current condition of the fixture will help you choose the right replacement part.
- Turn off the Water Supply: Always turn off the water supply to the affected area before beginning any work. This will prevent water from flowing when you remove the old fixture.
- Gather Necessary Tools: Having the right tools is crucial for a smooth installation. You will need items such as a pipe wrench, pliers, screwdriver, plumber's tape, and a bucket for water drainage.
- Protect Your Floors: If you're replacing a fixture that involves water removal, protect your floors with towels or a waterproof mat to avoid water damage.
3. Steps to Replace an Outdated Plumbing Fixture
Replacing a plumbing fixture can seem daunting, but with the right preparation and tools, it’s a manageable task. Here’s a step-by-step guide to help you replace your outdated plumbing fixture:
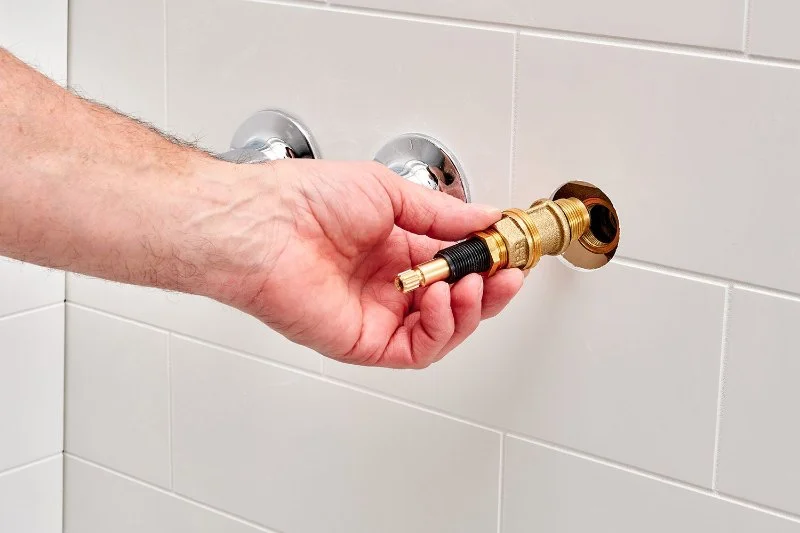
Step 1: Remove the Old Fixture
Start by carefully loosening the old fixture. For faucets, this may involve unscrewing the nuts beneath the sink. For toilets, you’ll need to remove the tank and unscrew the bolts that secure it to the floor. Use a wrench or pliers to remove any old fittings, making sure to collect any excess water in a bucket or towel.
Step 2: Install the New Fixture
Position the new fixture where the old one was located. For faucets, make sure the water lines are connected tightly, and for toilets, make sure the bolts are properly fastened. Apply plumber’s tape to the threads of any pipes to ensure a leak-proof seal.
Step 3: Test for Leaks
Once the new fixture is securely in place, turn the water supply back on and check for any leaks. Run water through the fixture and inspect all connections. If you notice any leaks, tighten the connections or apply additional plumber’s tape to seal them.
4. Safety Tips for Plumbing Replacement
Replacing a plumbing fixture can be a straightforward process, but it’s important to prioritize safety. Here are some essential safety tips:
- Wear Protective Gear: Always wear gloves to protect your hands from sharp edges and debris, and use safety goggles to prevent water splashes from getting into your eyes.
- Shut off the Water Completely: Ensure the water supply is completely turned off to avoid accidental flooding or water leaks during the installation process.
- Work with Dry Hands: Always work with dry hands to prevent electrical hazards, especially if you’re handling any electrical parts near the plumbing fixtures.
5. When to Call a Professional
While replacing a plumbing fixture is often a manageable DIY project, some situations may require professional assistance. If you encounter issues like persistent leaks, corroded pipes, or complex installations, it’s best to call a licensed plumber to handle the job. A professional plumber can also help if you're unsure about the compatibility of your new fixture with the existing plumbing or if you're dealing with a plumbing emergency.
Professional plumbers have the experience and tools necessary to ensure the job is done safely and correctly, saving you time and potential costs associated with mistakes or damage.
Replacing outdated plumbing fixtures is an excellent way to improve the functionality and appearance of your home. Whether you're dealing with a leaky faucet or an old toilet, following the proper steps can make the replacement process smoother. For the best plumbing products and services, check out Plumbers Supply Hub for expert solutions and quality products tailored to your needs.


 Long Lake Plumbing LLC4.0 (7 reviews)
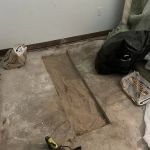 Haines Drains Plumbing And Drain Cleaning3.0 (44 reviews)
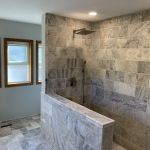 Vesi Works Plumbing - Plumber in Delano, MN4.0 (36 reviews)
 D W Plumbing4.0 (4 reviews)
 Paul L Buddy Plumbing & Heating4.0 (12 reviews)
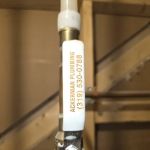 Ackerman Plumbing4.0 (123 reviews)
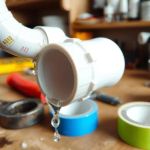 How to Replace a Plastic Pipe Fitting That Fails
 Plumbing Safety Tips for Homeowners Tackling DIY Projects | Safe Plumbing Solutions
 How to Detect When Your Plumbing Is Undersized
 How to Reroute Plumbing for a Kitchen Island: A Step-by-Step Guide
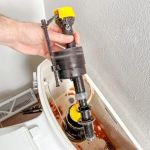 How to Replace a Toilet Fill Valve Quietly
 How to Handle a Plumbing Leak: A Homeowner’s Emergency Guide