
How to Replace a Galvanized Pipe in Your Home
- 1. Understanding Galvanized Pipes and Their Common Problems
- 2. Tools and Materials Needed for Replacing a Galvanized Pipe
- 3. Step-by-Step Guide to Replacing a Galvanized Pipe
- 4. Common Mistakes to Avoid When Replacing Galvanized Pipes
- 5. Why You Should Consider Professional Help
1. Understanding Galvanized Pipes and Their Common Problems
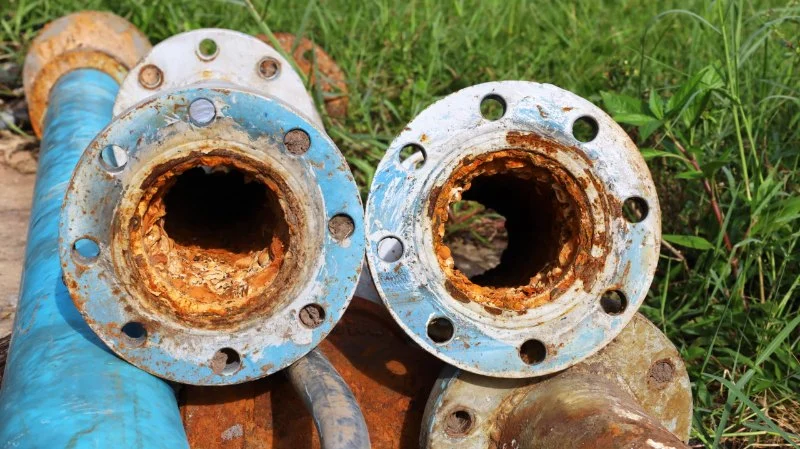
Galvanized pipes were once a popular choice for plumbing systems in homes, especially in the 20th century. These pipes are coated with a layer of zinc to prevent rust, but over time, the protective coating can wear off, causing the pipes to corrode and block water flow. The most common issues with galvanized pipes include reduced water pressure, rust stains in your water, and leaks. Understanding these problems is crucial before attempting a replacement.
Payless 4 Plumbing
San BernardinoSan Bernardino CountyCalifornia
2016 N Mt Vernon Ave, San Bernardino, CA 92411, USA
2. Tools and Materials Needed for Replacing a Galvanized Pipe
Before replacing a galvanized pipe, ensure you have the necessary tools and materials. Here’s a list of what you’ll need:
- Pipe Wrench: To loosen and tighten pipes.
- Pipe Cutter or Saw: To cut through the galvanized pipe.
- Replacement Pipe: Choose a durable material like copper or PEX to replace the old galvanized pipe.
- Thread Sealant: To ensure there are no leaks in the new pipe connections.
- Gloves and Safety Glasses: For personal protection.
- Plumber’s Tape: To seal threaded joints.
3. Step-by-Step Guide to Replacing a Galvanized Pipe
Follow these steps to replace a galvanized pipe in your home:
- Turn Off the Water Supply: Ensure the water supply to the affected pipe is completely turned off. Open nearby faucets to release any water pressure.
- Locate and Cut the Pipe: Use a pipe wrench to loosen the fittings connected to the galvanized pipe. Cut the pipe using a pipe cutter or saw at the location where you want to replace it.
- Prepare the New Pipe: Cut the new pipe to the correct length, ensuring it matches the size of the original pipe. If you're using PEX or copper, ensure the fittings are secure.
- Install the New Pipe: Connect the new pipe to the existing plumbing using appropriate fittings. Make sure all joints are properly sealed using plumber’s tape or thread sealant.
- Check for Leaks: Once the new pipe is installed, turn the water supply back on slowly and check for leaks. If any leaks appear, tighten the fittings further.
4. Common Mistakes to Avoid When Replacing Galvanized Pipes
When replacing galvanized pipes, avoid these common mistakes:
- Not Turning Off the Water Supply: Always ensure that the water supply is completely turned off before beginning any plumbing work.
- Using the Wrong Pipe Size: Double-check the size of the pipe you are replacing to avoid using the wrong size, which can cause leaks.
- Overtightening Fittings: Overtightening fittings can cause damage to the new pipe or fittings, leading to leaks.
- Ignoring Local Building Codes: Ensure that the replacement pipe and installation method comply with local building codes to avoid future issues.
5. Why You Should Consider Professional Help
While replacing a galvanized pipe may seem like a straightforward DIY project, it requires precision and knowledge of plumbing systems. Mistakes can lead to costly repairs, water damage, or even dangerous leaks. If you are not confident in your plumbing skills or if the replacement involves extensive work, it’s best to consult a professional plumber. At Plumbers Supply Hub, we can connect you with expert plumbers who will ensure the job is done safely and correctly.
For those unsure about their ability to replace galvanized pipes, reaching out to a qualified plumber will save you time, money, and potential headaches in the long run.


 Hall's Plumbing, LLC4.0 (87 reviews)
 West Coast Plumbing and Drains Inc.5.0 (8 reviews)
 Don Shriver's Video Drain Cleaning & Repair3.0 (2 reviews)
 Roto-Rooter Plumbing & Water Cleanup4.0 (1417 reviews)
 County Line Plumbing5.0 (335 reviews)
 Roto-Rooter4.0 (344 reviews)
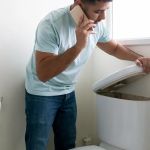 How to Prevent Toilet Clogs: Simple Tips Every Homeowner Should Know
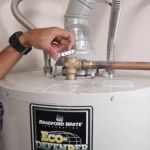 How to Fix a Leaky Water Heater: Step-by-Step Instructions
 How to Choose a Reliable Plumbing Service in Your Area
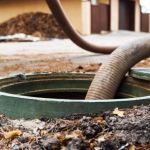 How to Clean Out a Septic Drain Field Safely
 How to Test for Bacteria in Household Water Supply
 Why Your Pipes Are Vibrating and How to Fix It