
- 1 - Understanding Slab Leaks and Their Causes
- 2 - Identifying a Leaking Junction Under the Slab
- 3 - Tools and Materials Needed for Slab Leak Repair
- 4 - Step-by-Step Guide to Repairing a Junction Under the Slab
- 5 - When to Call a Professional Plumber for Slab Leak Repair
1. Understanding Slab Leaks and Their Causes
A slab leak occurs when there is a leak in the pipes that run beneath the concrete foundation of your home. These leaks can cause significant water damage and structural issues if not addressed promptly. Typically, slab leaks occur at the junctions where pipes meet, often due to corrosion, shifting ground, or poor installation.
When water begins to leak from these junctions under the slab, it can saturate the foundation, causing cracks and instability over time. Identifying the cause of the leak and taking immediate action is crucial to preventing more serious damage to your property.
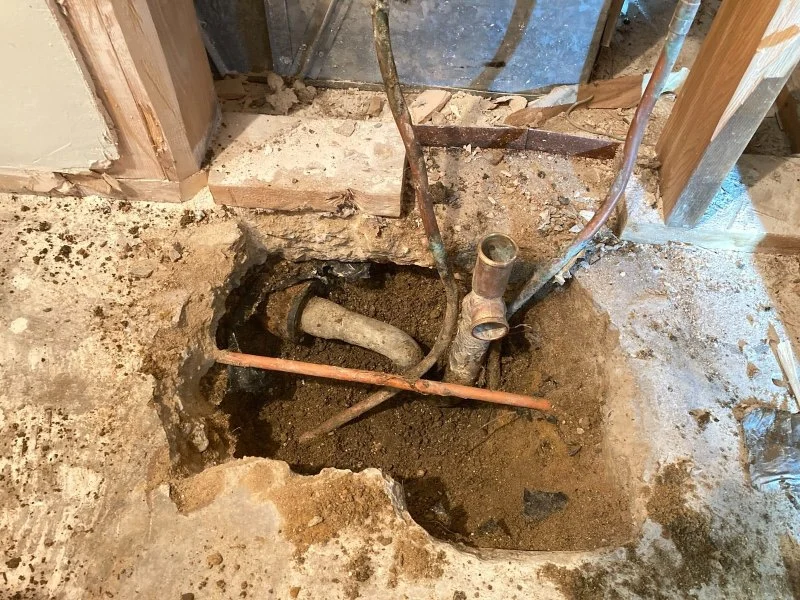
2. Identifying a Leaking Junction Under the Slab
Detecting a leak under the slab can be challenging, as the pipes are concealed beneath the concrete foundation. However, there are several signs that may indicate a slab leak:
- 1. Warm Spots on the Floor: If you notice areas on the floor that feel unusually warm, it could be due to hot water leaking from a pipe under the slab. This is especially common in homes with hot water lines running through the foundation.
- 2. Unexplained Increases in Water Bills: A significant rise in your water bill may indicate a leak, as water continues to flow despite no visible signs of use.
- 3. Damp or Wet Flooring: If you notice areas of your floor that remain wet or damp, it could be a sign that water is seeping through the concrete slab due to a leak below.
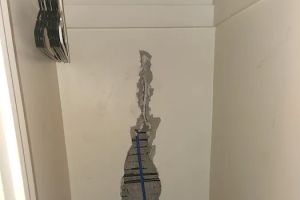
- 4. Cracks in the Foundation: As the leak worsens, the constant water flow can cause the foundation to crack, leading to noticeable fissures in your floors or walls.
- 5. Reduced Water Pressure: A leak in your pipes can lead to reduced water pressure throughout your home. This could be a sign that the leak is affecting the water supply.
3. Tools and Materials Needed for Slab Leak Repair
Repairing a leaking junction under a slab is a complex task that requires the right tools and materials. Here’s a list of what you’ll need for the repair:
- 1. Pipe Cutters: These are used to cut the damaged section of the pipe for replacement.
- 2. Soldering Equipment or Fittings: Depending on the type of pipe, you may need soldering equipment for copper pipes or compression fittings for PEX or PVC pipes.
- 3. Concrete Saw or Jackhammer: To access the leaking pipe beneath the slab, you’ll likely need to cut through the concrete using a concrete saw or jackhammer. Be sure to follow safety precautions when using these tools.
- 4. Pipe Insulation: Insulating the new pipe will help prevent future damage and energy loss.
- 5. Replacement Pipe: Once the leaking section of the pipe is removed, you’ll need a replacement pipe, which can vary depending on the material (e.g., PVC, copper, or PEX).
- 6. Epoxy or Pipe Repair Kit: For smaller leaks or temporary fixes, an epoxy resin or a pipe repair kit can be used to seal the leak until a more permanent solution is implemented.
4. Step-by-Step Guide to Repairing a Junction Under the Slab
Once you’ve identified the leaking junction and gathered the necessary tools, here’s a step-by-step guide to repair the leak:
- Step 1: Turn Off the Water Supply: Before starting the repair, shut off the main water supply to prevent further water damage and flooding.
- Step 2: Locate the Leak: Use a moisture meter or thermal imaging to pinpoint the exact location of the leak under the slab. This will help you determine where to cut the concrete.
- Step 3: Cut the Concrete Slab: Use a concrete saw or jackhammer to carefully cut through the slab at the location of the leak. Ensure you are cutting the slab in a controlled manner to avoid unnecessary damage.
- Step 4: Expose the Leaking Pipe: Once the slab is cut, remove the debris and carefully expose the leaking pipe junction.
- Step 5: Replace the Damaged Pipe: Cut out the damaged section of the pipe using pipe cutters and replace it with a new section. Use appropriate fittings to secure the pipe, ensuring a tight and leak-free connection.
- Step 6: Seal the Area: After the new pipe is in place, seal the area with concrete or appropriate materials to close up the slab and prevent further exposure to the elements.
- Step 7: Test for Leaks: Turn the water supply back on and check the repaired area for leaks. Ensure the water pressure is restored, and there are no signs of water escaping from the pipe.
5. When to Call a Professional Plumber for Slab Leak Repair
While some DIYers may attempt to repair a leaking junction under the slab, it’s often a complicated and labor-intensive process. If you’re not comfortable with cutting into concrete or handling plumbing systems, it’s best to call a professional plumber. Here are some signs that you should seek professional help:
- 1. Extensive Damage: If the leak has caused significant water damage or if there are multiple leaks, it’s best to hire a plumber with the necessary expertise to assess and repair the problem.
- 2. Difficulty Locating the Leak: If you are unable to pinpoint the exact location of the leak or if the leak is widespread, a professional plumber can use specialized tools like hydrostatic testing or video inspections to locate and fix the problem.
- 3. Inexperience with Concrete Cutting: Cutting through concrete and replacing pipes under the slab requires specific skills and tools. If you’re not confident in your ability to safely cut and repair the slab, a professional can complete the job more efficiently and with less risk of damage.
- 4. Long-Term Solutions: A plumber can offer long-term solutions, such as repiping the entire system, to prevent future leaks and ensure your home’s plumbing is in optimal condition.
Repairing a junction that is leaking under the slab can be a challenging task, but with the right tools, techniques, and professional help, it’s possible to fix the issue and prevent further damage. For all your plumbing needs and products, visit Plumbers Supply Hub for the best tools, materials, and expert advice to handle any plumbing challenge.


 Rooter Hero Plumbing & Air4.0 (1558 reviews)
 Benjamin Franklin Plumbing Knoxville3.0 (1 reviews)
 Mr. Rooter Plumbing of Tupelo and Oxford4.0 (167 reviews)
 CHIEF'S AFFORDABLE PLUMBING AND HANDYMAN SERVICES4.0 (4 reviews)
 Custom Plumbing Inc5.0 (10 reviews)
 York Sewer and Drain Cleaning5.0 (38 reviews)
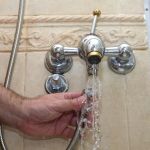 Why Sometimes You Get No Hot Water in Certain Fixtures
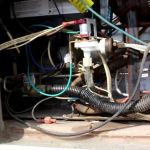 How to Replace an Ice Maker Valve Under the Refrigerator
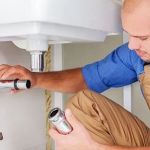 The Risks of Installing Incorrectly Sized Pipes
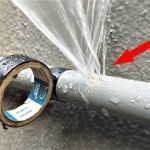 How to Repair a Cracked Pipe Without Replacing It: A Step-by-Step Guide
 How to Clear a Clogged Shower Drain: Effective Tips for Homeowners | Plumbers Supply Hub
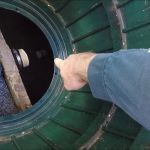 How to Clean Out a Septic Tank Filter Safely: Step-by-Step Guide