
How to Repair a Broken Overflow Pipe in Tub
- 1 - Identify the Leak
- 2 - Turn Off the Water Supply
- 3 - Drain the Tub
- 4 - Remove the Damaged Overflow Pipe
- 5 - Install the New Overflow Pipe
- 6 - Reassemble and Test
Repairing a broken overflow pipe in your bathtub may sound like a daunting task, but it’s a manageable DIY project with the right tools and guidance. Overflow pipes are essential components of your bathtub's plumbing system, designed to prevent water from spilling over the edges when the tub is overfilled. A damaged or broken overflow pipe can lead to leaks, water damage, and costly repairs. In this article, we’ll walk you through each step to repair a broken overflow pipe effectively. You can also find reliable plumbing parts at Plumbers Supply Hub to help with your repair.
Mr. Rooter Plumbing of Long Beach
Long BeachLos Angeles CountyCalifornia
2650 70th St, Long Beach, CA 90805, USA
1. Identify the Leak
The first step in repairing a broken overflow pipe is identifying the exact source of the leak. Overflow pipes are located behind the bathtub’s wall and connect to the drain system. If you notice water pooling around the tub or on the bathroom floor, it's likely that the overflow pipe has been compromised. Check if water is leaking around the area where the overflow pipe meets the tub, as this can help pinpoint the problem.

Roto-Rooter Plumbing & Drain Service
AshevilleBuncombe CountyNorth Carolina
44 Buck Shoals Rd Unit H5, Arden, NC 28704, USA
2. Turn Off the Water Supply
Before you start the repair, it’s crucial to turn off the water supply to prevent further water damage. Locate the shut-off valve for the bathtub’s water supply, usually found near the water meter or under the sink. Turn the valve clockwise to stop the flow of water. Once the water is turned off, ensure there is no remaining water in the tub to avoid any spillage while you work on the pipe.
3. Drain the Tub
After turning off the water supply, you’ll want to drain any remaining water from the bathtub. You can use a small container or towel to soak up the water in the tub. Draining the tub helps make the repair process cleaner and prevents water from flowing into the pipes while you’re working.
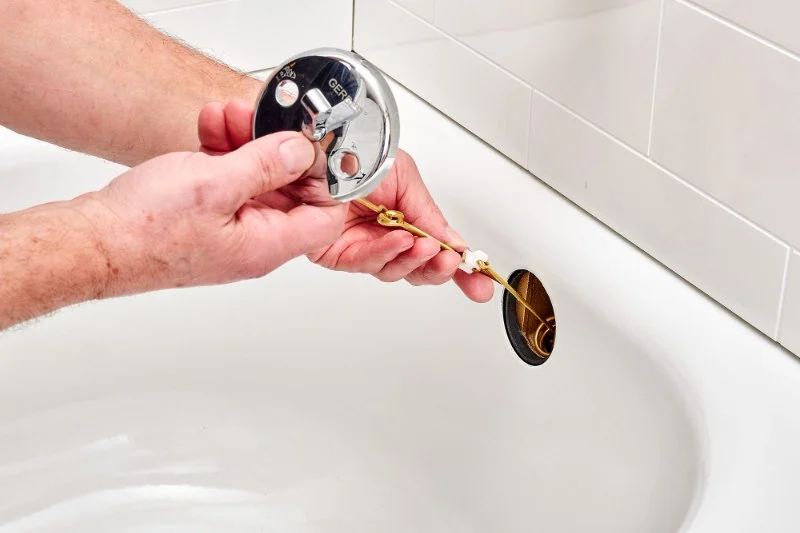
4. Remove the Damaged Overflow Pipe
Now, it’s time to access the broken overflow pipe. In most cases, you’ll need to remove the tub’s drain cover or the access panel behind the tub. Once you’ve located the damaged overflow pipe, use a wrench or pliers to disconnect it from the tub’s drain assembly. Carefully remove the broken pipe, taking note of how it’s connected so you can install the new pipe properly.
5. Install the New Overflow Pipe
Once the old pipe is removed, it’s time to install the new overflow pipe. Begin by aligning the new pipe with the drain assembly. Gently insert it into place and secure it using the appropriate fittings or screws. Make sure the pipe is tightly secured to prevent leaks. Depending on the material of your overflow pipe, you may need to use plumber’s tape or sealant around the threads for a tight seal.
6. Reassemble and Test
With the new overflow pipe installed, carefully reassemble the tub, replacing the drain cover or the access panel. Turn the water supply back on and test the tub by filling it with water. Check the area around the overflow pipe for any signs of leaks. If you notice any water leakage, tighten the connections and ensure the seal is properly in place.
Once you’ve confirmed that there are no leaks, your repair is complete! If you’re looking for high-quality plumbing parts or need assistance with any other home repairs, consider visiting Plumbers Supply Hub for reliable products and services.


 Schultz Company4.0 (13 reviews)
 Drain & Plumbing Services4.0 (136 reviews)
 Stephens Plumbing, Heating & Air Conditioning4.0 (32 reviews)
 Discount Drain & Sewer Cleaning3.0 (12 reviews)
 Bill's Plumbing LLC5.0 (3 reviews)
 Kipp Plumbing, Inc.4.0 (12 reviews)
 How to Test an Expansion Tank on Your Water Heater
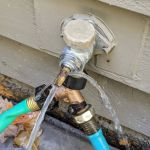 How to Replace a Spigot That Leaks Only When Turned On – A Step-by-Step Guide
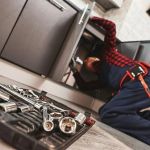 How to Detect When Your Plumbing Is Aging: Key Signs to Watch For
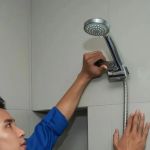 How to Replace Your Showerhead and Improve Water Flow
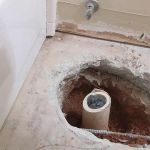 How to Replace a Broken Pipe in a Slab Foundation: Step-by-Step Guide
 How to Test Pressure Drop in a Long Pipe Run: Effective Methods for Accurate Results