
- How to Fix a Leaky Showerhead
- Common Causes of Leaky Showerheads
- Tools and Materials Needed
- Step-by-Step Guide to Fixing a Leaky Showerhead
- When to Call a Plumber
- Recommendations for Showerhead Maintenance
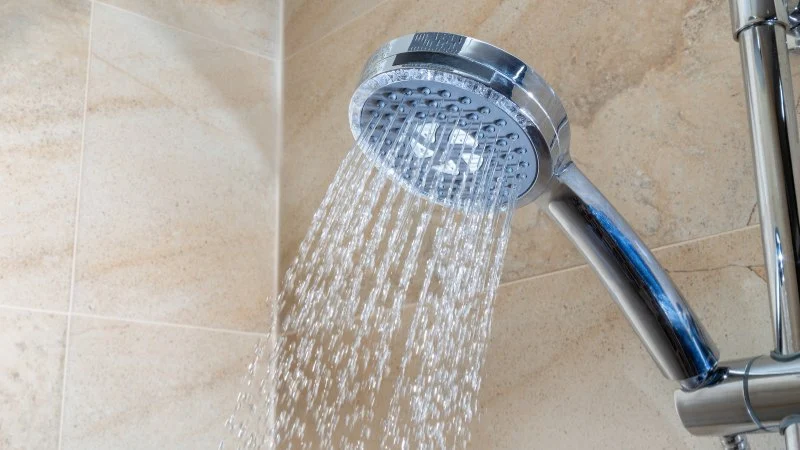
How to Fix a Leaky Showerhead
If you're dealing with a leaky showerhead, you're not alone. This common issue can waste water and increase your utility bills. Fortunately, fixing a leaky showerhead is a simple and affordable task that you can do yourself, without calling a plumber. In this article, we’ll walk you through the steps to fix the leak and get your shower working like new again.

Kellermeier Plumbing, Heating & Cooling
10732 Northland Dr NE, Rockford, MI 49341, USA
Common Causes of Leaky Showerheads
Before jumping into the repair process, it’s important to understand what might be causing the leak. The most common reasons for a leaky showerhead include:
1. Worn-out Washers
The rubber washers inside the showerhead can become worn out over time. This wear and tear often leads to water leakage. Replacing the washer is one of the easiest fixes for a leaky showerhead.
2. Build-up of Mineral Deposits
If you have hard water, mineral deposits can build up inside the showerhead and cause leaks. These deposits can clog the tiny holes in the showerhead, leading to uneven water flow and leakage around the edges.
3. Loose Showerhead Connection
Sometimes, the problem isn’t with the showerhead itself but with the connection between the showerhead and the arm. If this connection becomes loose or unsealed, water can leak out from the joint.
4. Cracked or Damaged Showerhead
If your showerhead is cracked or physically damaged, it may leak water. In such cases, replacing the showerhead may be the best option.
Tools and Materials Needed
Before you start fixing the leaky showerhead, gather the following tools and materials:
1. Adjustable Wrench
You’ll need an adjustable wrench to loosen the showerhead and make sure the connection is secure.
2. Plumber’s Tape
Plumber’s tape (also known as Teflon tape) helps create a tight, water-resistant seal between the showerhead and the shower arm, preventing further leaks.
3. Replacement Washer or O-Ring
If the leak is caused by a worn-out washer, you will need a replacement washer or O-ring. Make sure to select the correct size to fit your showerhead.
4. Vinegar (For Mineral Build-up)
If mineral deposits are the cause of the leak, you will need some white vinegar to clean the showerhead.
Step-by-Step Guide to Fixing a Leaky Showerhead
Now that you have the necessary tools, let’s walk through the steps to fix your leaky showerhead:
1. Turn off the Water Supply
Before beginning any repair work, make sure to turn off the water supply to avoid any accidental water flow during the process.
2. Remove the Showerhead
Use an adjustable wrench to gently loosen the showerhead by turning it counterclockwise. Once it’s loose, remove it from the shower arm.
3. Inspect the Washer and Connection
Check the rubber washer inside the showerhead. If it appears worn, cracked, or damaged, replace it with a new one. Also, inspect the connection between the showerhead and the shower arm. If it’s loose, tighten it with the adjustable wrench.
4. Clean the Showerhead (If Necessary)
If mineral build-up is the issue, soak the showerhead in a mixture of white vinegar and water for 30 minutes to dissolve the deposits. After soaking, use an old toothbrush to scrub away any remaining build-up.
5. Reassemble the Showerhead
Once the washer is replaced or cleaned, wrap plumber’s tape around the threads of the shower arm to ensure a secure seal. Then, screw the showerhead back onto the arm, tightening it gently with your hands. Use the adjustable wrench to ensure it’s snug, but avoid over-tightening.
6. Turn on the Water
Finally, turn the water supply back on and test the showerhead. Check for any leaks. If the leak persists, repeat the process, ensuring all connections are secure and the washer is properly in place.
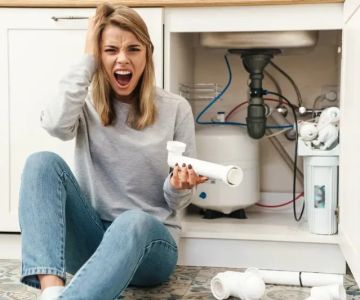
When to Call a Plumber
While fixing a leaky showerhead is usually a simple DIY task, there are times when it’s best to call a professional plumber:
1. Persistent Leaks
If the leak continues despite replacing the washer and tightening the connections, there may be a deeper plumbing issue, such as a problem with the pipes or shower arm. In such cases, it’s best to consult a plumber for a thorough inspection.
2. Damaged Showerhead
If your showerhead is cracked or severely damaged, replacing it may not solve the problem. A plumber can help you select and install a new showerhead or handle any complex plumbing issues.
Recommendations for Showerhead Maintenance
To prevent future leaks and keep your showerhead in good condition, follow these maintenance tips:
1. Regularly Clean the Showerhead
To avoid mineral build-up, clean your showerhead every few months. Soaking it in vinegar can help maintain smooth water flow and prevent leaks.
2. Check for Leaks Periodically
Regularly check for any leaks, especially after installing a new showerhead or making repairs. Early detection can save you money on water bills and prevent further damage.
3. Use a Water Softener
If you live in an area with hard water, consider using a water softener to reduce mineral deposits in your pipes and showerhead. This can extend the life of your showerhead and prevent leaks.
If you need any plumbing supplies or tools for this project, check out Plumbers Supply Hub for top-rated products and professional recommendations.


 Dennee Plumbing5.0 (14 reviews)
 Lakewood Mechanical Inc4.0 (19 reviews)
 Sadler Services Inc4.0 (77 reviews)
 Infinity Plumbing4.0 (4 reviews)
 Mr. Rooter Plumbing of Charleston, WV4.0 (65 reviews)
 Rhino's Rooter and Drain Cleaning5.0 (15 reviews)
 How to Clear a Clogged Shower Drain: Effective Tips for Homeowners | Plumbers Supply Hub
 Plumbing Tips to Save Water and Lower Your Utility Bills
 How to Replace an Outdated Plumbing Fixture Safely
 How to Choose the Best Faucet for Water Savings
 How to Eliminate Corrosion in Hard Water Homes
 How to Fix a Sink That Rattles When Water Runs: Troubleshooting Guide