
How to Replace an Outdated Plumbing Fixture Safely
- 1. Why You Should Replace Outdated Plumbing Fixtures
- 2. Tools You’ll Need to Replace a Plumbing Fixture
- 3. Step-by-Step Guide to Replacing a Plumbing Fixture
- 4. Safety Tips for Working with Plumbing Fixtures
- 5. How Plumbers Supply Hub Can Help
1. Why You Should Replace Outdated Plumbing Fixtures
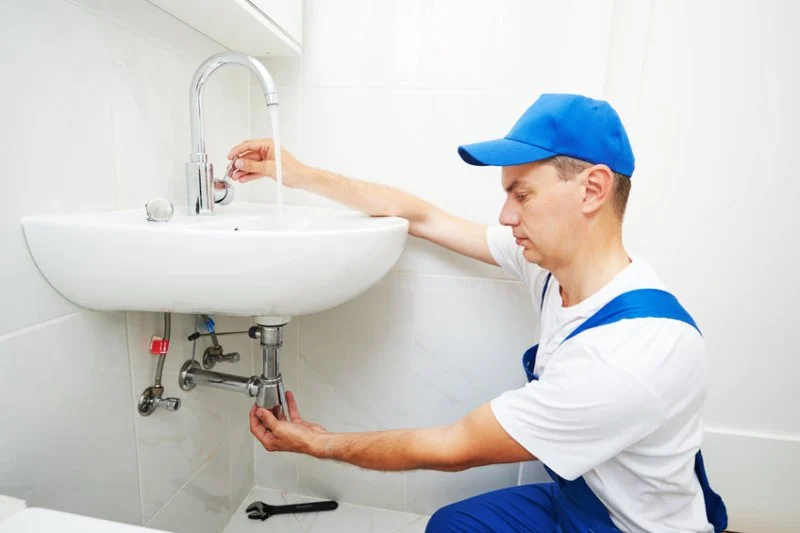
Replacing outdated plumbing fixtures not only improves the aesthetics of your home but also enhances its functionality. Over time, older fixtures can experience wear and tear, leading to leaks, low water pressure, or even damage to your plumbing system. Additionally, outdated plumbing fixtures can negatively impact your home’s water efficiency, leading to higher utility bills.
Updating your fixtures can also bring more modern, efficient options into your home. Newer fixtures are designed to be more energy-efficient, which can contribute to lower water usage and reduced environmental impact. Whether it’s a leaky faucet, corroded pipes, or an old showerhead, replacing your plumbing fixtures can save you money in the long run.
TnT Plumbing Heating & Air
MenifeeRiverside CountyCalifornia
28955 Loire Valley Ln, Menifee, CA 92584, USA
2. Tools You’ll Need to Replace a Plumbing Fixture
Before you start replacing your plumbing fixture, you’ll need to gather the right tools to ensure the job is done correctly and safely. Here are the essential tools you’ll need:
1. Adjustable Wrench
An adjustable wrench is a versatile tool that allows you to grip and tighten or loosen nuts and bolts of various sizes, making it perfect for working on plumbing fixtures.
2. Pipe Wrench
A pipe wrench is ideal for gripping and turning pipes. If you need to disconnect a pipe to replace a fixture, this tool will help you get the job done without damaging the pipe.
3. Plumber’s Tape
Plumber’s tape (also known as Teflon tape) is used to seal threaded connections and prevent leaks when installing new fixtures. This is especially useful for connections that involve water flow.
4. Bucket and Towels
Having a bucket and towels handy can help catch any water that may spill when disconnecting old fixtures. Keeping your work area dry is essential for both safety and cleanliness.
5. New Plumbing Fixture
Of course, you’ll need the new fixture you wish to install. Be sure to choose a fixture that matches the style and specifications of your existing plumbing setup.
3. Step-by-Step Guide to Replacing a Plumbing Fixture
Replacing a plumbing fixture can seem intimidating, but by following the proper steps, it’s a manageable task. Here’s a simple step-by-step guide to help you replace your outdated plumbing fixture:
1. Turn Off the Water Supply
Before you begin working, make sure to turn off the water supply to the fixture you are replacing. Locate the shut-off valves under the sink or behind the toilet, and turn them clockwise to stop the water flow.
2. Disconnect the Old Fixture
Using an adjustable wrench or pipe wrench, carefully loosen and disconnect the pipes or connections to the old fixture. Have a bucket and towels nearby to catch any residual water that may spill out.
3. Remove the Old Fixture
Once the connections are loose, remove the old fixture from its position. If you’re replacing a faucet, remove any mounting hardware or bolts that hold the faucet in place.
4. Install the New Fixture
Position the new fixture where the old one was, ensuring it’s aligned properly. Secure the fixture by tightening the mounting bolts or connections as needed. Apply plumber’s tape to threaded connections to ensure a watertight seal.
5. Reconnect the Water Supply
Once the new fixture is installed, reconnect the water supply lines. Tighten the connections with a wrench, but be careful not to overtighten, as this can damage the threads.
6. Test the New Fixture
Turn the water supply back on slowly and check for any leaks. If everything looks good, turn the fixture on to test its functionality. If you notice any issues, check the connections again for tightness.
4. Safety Tips for Working with Plumbing Fixtures
When replacing plumbing fixtures, safety should always be a top priority. Here are some safety tips to keep in mind:
1. Wear Protective Gear
It’s important to wear appropriate protective gear when working with plumbing fixtures. Safety goggles, gloves, and long sleeves can protect you from sharp edges, tools, and any water that may spill.
2. Avoid Using Excessive Force
Using excessive force when tightening connections or loosening bolts can damage pipes or fixtures. Always use the proper tool for the job and apply firm, but not excessive, pressure.
3. Check for Leaks
After installing the new fixture, always check for leaks. If you notice any, immediately turn off the water supply and recheck the connections to ensure everything is tight and properly sealed.
5. How Plumbers Supply Hub Can Help
If you’re looking for high-quality plumbing fixtures or tools, Plumbers Supply Hub is your go-to resource. We offer a wide selection of plumbing fixtures, from faucets to sinks and everything in between. Our products are designed for both DIY enthusiasts and professional plumbers, ensuring that you have the right tools and materials to get the job done safely and effectively.
Visit Plumbers Supply Hub today to explore our selection of plumbing fixtures and get expert advice on replacing outdated plumbing fixtures in your home.


 Jerry Powell Plumbing4.0 (5 reviews)
 GVL Plumbing, LLC5.0 (4 reviews)
 Zane Plumbing Co5.0 (15 reviews)
 Hayden's Plumbing Services4.0 (76 reviews)
 Taylor Plumbing5.0 (2 reviews)
 Sullivan Plumbing4.0 (69 reviews)
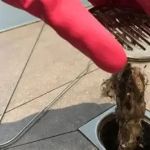 How to Repair a Hairball Clog Without Harsh Chemicals
 How to Test Backflow Preventers Annually
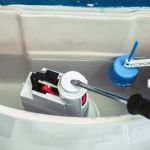 How to Handle a Running Toilet: Quick Fixes and Prevention
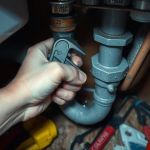 How to Repair a Pipe Saddle That Leaks: Complete Guide
 How to Install a Water Softener: DIY Plumbing Tips
 How to Replace a Shower Drain: A DIY Plumbing Project