
- 1. Understanding the Importance of Proper Plumbing for Bathroom Fixtures
- 2. Preparing for the Installation of New Bathroom Fixtures
- 3. Step-by-Step Guide to Installing Bathroom Fixtures
- 4. Common Plumbing Issues to Watch Out For
- 5. Post-Installation Plumbing Maintenance Tips
- 6. Where to Find Quality Plumbing Products for Your Bathroom
1. Understanding the Importance of Proper Plumbing for Bathroom Fixtures
When it comes to installing new bathroom fixtures, proper plumbing is key to ensuring that everything functions smoothly. Whether you're upgrading your faucets, installing a new shower, or replacing a toilet, ensuring that your plumbing is set up correctly can prevent leaks, water pressure issues, and costly repairs in the future. In this guide, we'll cover essential plumbing tips for handling bathroom fixture installations and help you achieve a professional finish.

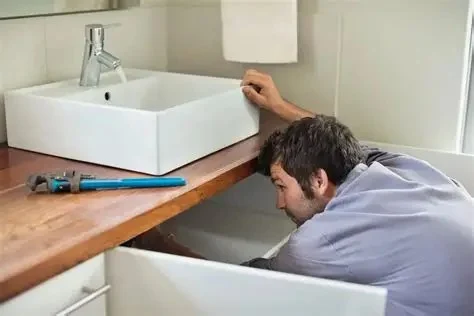
2. Preparing for the Installation of New Bathroom Fixtures
Before you start the installation process, proper preparation is essential to ensure a smooth and successful installation. Here's how to get ready:
- Turn Off the Water Supply: Always turn off the main water supply before beginning any plumbing work. This will prevent water from flowing while you're installing new fixtures and avoid potential flooding or leaks.
- Gather the Right Tools: Make sure you have all the necessary tools for the job, including pipe wrenches, pliers, Teflon tape, and a level. Having the right equipment will make the installation process much easier and more efficient.
- Inspect Existing Plumbing: Check the condition of the existing plumbing before starting the installation. If the pipes or connections are old, it may be a good idea to replace or upgrade them to avoid future plumbing issues.
With these preparations in place, you're ready to proceed with the installation of your new bathroom fixtures.

3. Step-by-Step Guide to Installing Bathroom Fixtures
Now that you're prepared, let's walk through the basic steps for installing some common bathroom fixtures:
Installing a New Faucet
Step 1: Disconnect the water supply lines under the sink. Use a pipe wrench to loosen and remove the existing faucet.
Step 2: Install the new faucet by aligning it with the sink’s holes. Secure it in place with the provided hardware, making sure the faucet is level.
Step 3: Reconnect the water supply lines, ensuring they are tightly sealed to avoid leaks.
Step 4: Turn the water back on, check for leaks, and test the faucet to ensure it’s functioning properly.
Installing a Showerhead
Step 1: Remove the old showerhead by twisting it counterclockwise. Clean the shower arm’s threads to remove any debris or old tape.
Step 2: Wrap the threads of the shower arm with Teflon tape to ensure a watertight seal.
Step 3: Attach the new showerhead by screwing it onto the shower arm. Tighten it with your hand, making sure not to overtighten.
Step 4: Turn the water on, check for leaks, and test the showerhead for proper water flow and pressure.
Installing a Toilet
Step 1: Remove the old toilet by disconnecting the water supply line and loosening the bolts that hold the toilet in place.
Step 2: Prepare the area by cleaning the flange and replacing the wax ring with a new one for a proper seal.
Step 3: Position the new toilet over the flange and align the bolts with the holes on the toilet base. Secure the toilet with the bolts and tighten them evenly.
Step 4: Reconnect the water supply line, turn the water back on, and check for leaks.
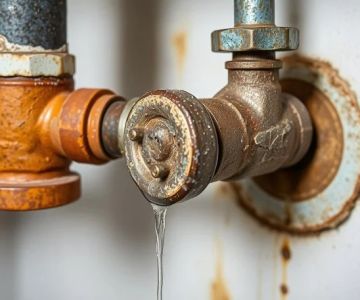
4. Common Plumbing Issues to Watch Out For
While installing bathroom fixtures, you may encounter some common plumbing issues. Here are a few to watch out for:
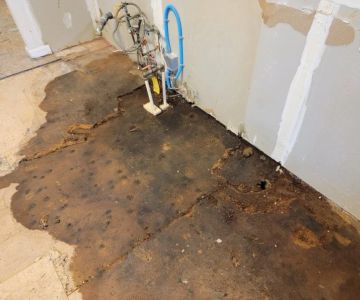
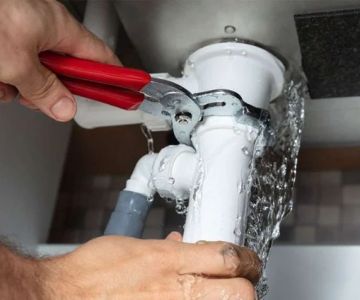
- Leaky Faucets: If the faucet isn’t installed tightly enough or if there’s a problem with the seals, you may experience leaks. Always double-check that connections are secure before finishing the installation.
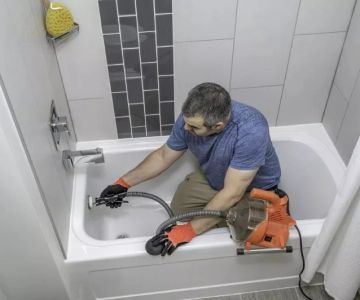
- Low Water Pressure: Low water pressure can result from clogged pipes or an improperly installed fixture. Make sure all pipes are clear and that the fixture is properly aligned.
- Improper Seal: If a showerhead or faucet isn’t sealed properly, it can lead to water leaks and damage. Teflon tape is essential for creating a tight seal and preventing leaks.
Taking the time to carefully follow each step and inspect for issues during the installation process will save you from these common problems.
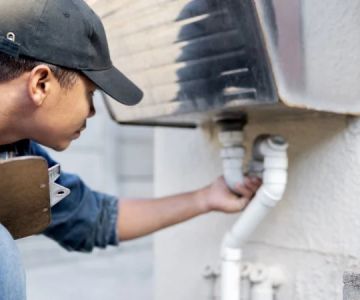
5. Post-Installation Plumbing Maintenance Tips
Once your new bathroom fixtures are installed, regular maintenance is important to ensure they continue to function properly:
- Regularly Clean Fixtures: Keep faucets, showerheads, and toilets clean to prevent buildup that can clog pipes and reduce efficiency.
- Check for Leaks: Periodically inspect your bathroom fixtures for leaks. Catching small leaks early can prevent bigger problems down the line.
- Replace Worn Seals: Seals and gaskets wear out over time, so replace them as needed to maintain a watertight seal.
6. Where to Find Quality Plumbing Products for Your Bathroom
If you need high-quality plumbing products for your bathroom fixture installation, look no further than【Plumbers Supply Hub】for the best options. From faucets to showerheads, we offer a wide range of reliable products to ensure your bathroom fixtures are installed and maintained with ease.

 Rancho Heating and Air Plumbing, Inc.5.0 (14 reviews)
 Fagnelli Plumbing Heating & Cooling4.0 (91 reviews)
 Tom Drexler Plumbing, Air & Electric4.0 (1940 reviews)
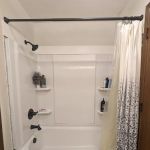 Peterson Plumbing4.0 (29 reviews)
 Reliable Plumbing LLC5.0 (23 reviews)
 Bearden Plumbing Solutions5.0 (182 reviews)
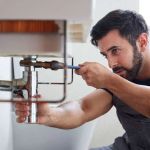 How to Detect and Repair Hidden Plumbing Leaks in Your Home
 How to Fix a Leaky Water Heater: Step-by-Step Instructions
 How to Fix a Slow Drain: DIY Solutions for Common Drainage Issues
 How to Replace a Broken Pipe Without Major Construction Work
 How to Clean Out a Septic Drain Field Safely: Expert Tips and Guidelines
 How to Maintain Your Home’s Plumbing System to Avoid Unnecessary Costs