
1. Understanding the Basics of Toilet Installation
Before diving into the installation process, it's important to understand the basics. A toilet installation requires careful preparation, knowledge of plumbing, and the right tools. Whether you're replacing an old toilet or installing a new one in your bathroom, knowing the steps ahead of time can save you time and prevent costly mistakes.

Tankless water heater repair and Plumbing
El MonteLos Angeles CountyCalifornia
10050 Bessie Ave, El Monte, CA 91731, USA
2. Tools and Materials You'll Need
Before starting, make sure you have all the necessary tools and materials. These include:
- New toilet
- Wax ring
- Toilet bolts and nuts
- Plunger
- Pipe wrench
- Adjustable wrench
- Level
- Caulking gun (for sealing the base)
If you don't already have these materials, you can find high-quality products and more at Plumbers Supply Hub to make sure your installation goes smoothly.
Temecula Drain Service & Plumbing
TemeculaRiverside CountyCalifornia
44007 Quiet Meadow Rd, Temecula, CA 92592, USA
3. Step-by-Step Toilet Installation Process
Step 1: Remove the Old Toilet
Start by shutting off the water supply to your toilet. Then, flush the toilet to empty the tank. Use a sponge or towel to soak up any remaining water. Unscrew the bolts holding the toilet to the floor, and carefully lift it off the flange. Dispose of the old toilet properly.
Step 2: Prepare the New Toilet
Next, place the new wax ring onto the flange. Make sure it's centered. The wax ring is critical because it creates a seal between the toilet and the drainpipe. Attach the toilet bolts to the base of the toilet before positioning it over the flange.
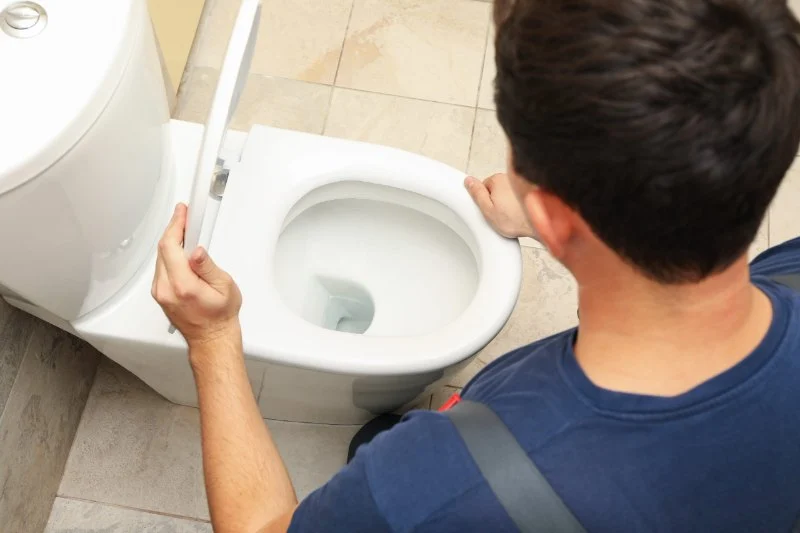
Step 3: Set the Toilet in Place
Carefully lower the toilet onto the flange, ensuring the bolts line up with the holes in the toilet base. Once the toilet is in position, press down gently to set the wax ring and ensure a tight seal. Tighten the nuts onto the bolts with an adjustable wrench.
Step 4: Connect the Water Supply
Now, connect the water supply line to the toilet tank. Be sure to tighten the connection without over-tightening, as this can cause damage. Turn on the water supply and allow the tank to fill up. Check for any leaks around the connections.
Step 5: Secure and Test the Toilet
Once the toilet is secured, use a level to make sure it's sitting evenly. If necessary, adjust the toilet base or bolts to achieve the perfect level. Test the flush and check for leaks around the base and water supply connections.
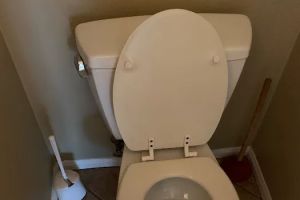
4. Finalizing the Installation
After confirming that everything is working properly, finish the installation by sealing around the base with caulk. This step is essential for both aesthetics and preventing water damage. Finally, clean up any mess and dispose of the old toilet and packaging materials.
5. Common Mistakes to Avoid
Even though installing a toilet can be straightforward, there are a few common mistakes that can cause problems down the road:
- Improper wax ring installation
- Not tightening the bolts enough (but not over-tightening either)
- Forgetting to check for leaks after installation
- Not sealing the base properly
Being aware of these mistakes can help you avoid issues with your new toilet.
6. Tips for Maintaining Your New Toilet
Once your toilet is installed, maintaining it is just as important as the installation itself. Regular cleaning and checking for leaks can keep your toilet functioning properly for years. If you ever need to replace parts or get professional help, consider visiting Plumbers Supply Hub for the best selection of plumbing products.
7. Conclusion
Installing a new toilet might seem daunting, but with the right tools and guidance, it's a manageable DIY project. By following this step-by-step guide, you can save money and ensure your toilet is installed correctly. For all your plumbing needs, don’t forget to visit Plumbers Supply Hub for quality products and services.


 Viking Plumbing4.0 (742 reviews)
 South County Plumber5.0 (1 reviews)
 Plymouth Plumbing & Heating Sheboygan5.0 (1 reviews)
 Phillips Family Plumbing4.0 (37 reviews)
 California Hi-Tech Plumbing, Corp4.0 (18 reviews)
 D J Murray Plumbing3.0 (3 reviews)
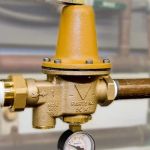 How to Replace a Pressure Reducing Valve Quietly: A Step-by-Step Guide
 How to Replace a Shower Drain: A DIY Plumbing Project
 How to Replace a Gate Valve vs a Ball Valve | Plumbers Supply Hub
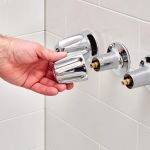 How to Replace a Leaky Shower Valve Step by Step: Easy Guide for Homeowners
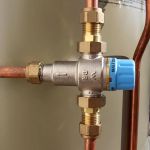 How to Replace a Mixing Valve for Tempered Water | Plumbers Supply Hub
 How to Temporarily Patch a Burst Pipe Until Help Arrives: A DIY Guide