
- 1. Why Installing a New Water Heater Matters for Efficiency
- 2. Step-by-Step Guide to Installing Your New Water Heater
- 3. Best Tips for Energy-Efficient Water Heater Installation
- 4. Common Mistakes to Avoid When Installing a Water Heater
- 5. When to Call a Professional for Water Heater Installation
1. Why Installing a New Water Heater Matters for Efficiency
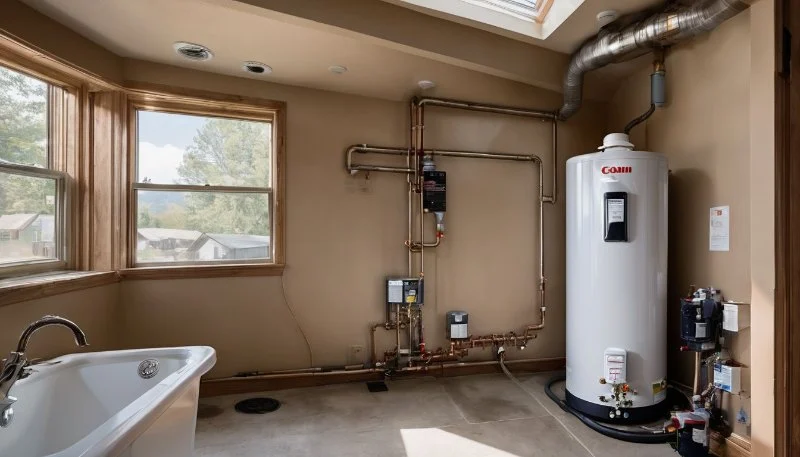
Replacing an old or inefficient water heater with a new one is an important step towards improving your home’s energy efficiency. A modern water heater not only delivers more reliable hot water but can also significantly reduce your energy bills. Whether you're upgrading to a more energy-efficient model or replacing a malfunctioning one, proper installation is key to ensuring that your water heater works at peak performance.
Older water heaters often consume more energy than necessary, leading to higher utility costs. Installing a new unit that’s specifically designed for energy efficiency can reduce energy consumption, decrease the risk of breakdowns, and increase the overall lifespan of the unit.
Rooter Warrior Plumbing & Drain Cleaning
RiversideRiverside CountyCalifornia
1440 3rd St #7, Riverside, CA 92507, USA
2. Step-by-Step Guide to Installing Your New Water Heater
Installing a new water heater can be a complex task, but with the right tools and instructions, it can be done safely and effectively. Here’s a step-by-step guide to help you through the installation process:

LA Plumbing & Builders
Los AngelesLos Angeles CountyCalifornia
5632 Van Nuys Blvd #296, Sherman Oaks, CA 91401, USA
Step 1: Turn Off the Power and Water Supply
Before beginning any work, make sure to turn off the power supply to the water heater. For electric heaters, turn off the breaker in your home’s electrical panel. For gas water heaters, turn off the gas valve. Then, shut off the water supply to the heater by turning the valve clockwise.
Step 2: Drain the Old Water Heater
To safely remove the old water heater, you’ll need to drain it. Connect a hose to the drain valve located at the bottom of the tank and direct the water to a suitable drainage area. Open the valve to allow the water to drain completely. It’s a good idea to allow the water to cool down before draining it.
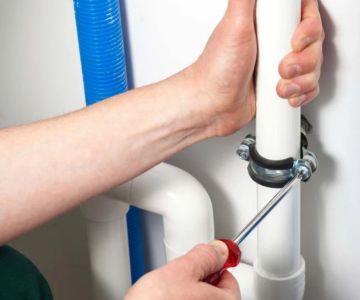
Step 3: Disconnect the Old Heater
Once the tank is empty, disconnect the electrical or gas connections. For electric heaters, disconnect the power wires from the terminals. For gas heaters, disconnect the gas line. Carefully remove any mounting brackets or screws that are holding the unit in place, and then remove the old water heater from its position.
Step 4: Install the New Water Heater
Position the new water heater in place. Ensure that it is level and securely mounted. For electric heaters, reconnect the power wires according to the manufacturer’s instructions. For gas heaters, reconnect the gas line to the unit using the appropriate fittings and a pipe thread sealant. Be sure to follow the manufacturer’s guidelines for each type of connection.
Step 5: Connect the Water Supply and Drain
Connect the cold water supply line to the inlet valve of the new water heater. Then, connect the hot water outlet to the appropriate pipe leading to the rest of your plumbing system. Tighten the connections to prevent leaks.
Step 6: Test the New Heater
Once all connections are made, turn on the water supply and check for leaks. If everything is dry and secure, turn on the power or gas supply. For gas heaters, light the pilot light as directed in the manufacturer’s manual. Set the temperature to your desired level and allow the heater to run for a few minutes to ensure it is functioning properly.
3. Best Tips for Energy-Efficient Water Heater Installation
Maximizing the energy efficiency of your water heater is essential for reducing your home’s energy costs. Here are some tips to ensure that your water heater operates at its best:
1. Choose an Energy-Efficient Model
When selecting a new water heater, look for models with the ENERGY STAR label. These units are designed to use less energy and save you money on your monthly utility bills.
2. Insulate the Heater and Pipes
Insulating your water heater and the pipes leading to and from it can help retain heat and improve efficiency. Insulation reduces heat loss, so your water heater doesn’t have to work as hard to keep water hot.
3. Set the Temperature Correctly
Set the temperature of your water heater to 120°F to ensure it’s not using more energy than necessary. Higher temperatures can increase energy usage and pose a risk of scalding.
4. Maintain Your Water Heater
Regular maintenance is essential to keeping your water heater running efficiently. Flush the tank annually to remove sediment buildup, check for leaks, and ensure the thermostat is functioning properly.
4. Common Mistakes to Avoid When Installing a Water Heater
While installing a new water heater may seem straightforward, there are several common mistakes that can compromise its efficiency or safety. Avoid these pitfalls:
1. Not Turning Off the Power or Gas
Before beginning any installation work, always ensure that the power or gas supply to the water heater is completely turned off. Failing to do so could result in electrical shock or gas leaks.
2. Incorrect Sizing
Choosing the wrong size water heater can lead to inefficient operation. Make sure to select a model that matches the hot water needs of your household. A unit that’s too small will struggle to meet demand, while one that’s too large will waste energy.
3. Skipping the Ventilation Inspection
For gas water heaters, proper ventilation is essential for safety. Ensure that the venting system is installed correctly to prevent harmful gas buildup in your home.
5. When to Call a Professional for Water Heater Installation
While installing a new water heater can be a DIY project for some, it’s important to know when to call a professional. Here are some scenarios when you should consider hiring an expert:
1. When Dealing with Gas Lines
If you’re replacing a gas water heater, it’s essential to have a licensed professional handle the installation to ensure the gas lines are safely connected and there are no leaks.
2. When You’re Unsure About Electrical Connections
If you’re installing an electric water heater and are not confident in your ability to safely handle the electrical wiring, it’s best to call an electrician or a plumber who is qualified to work with electrical systems.
3. When Local Codes Require Professional Installation
In some regions, local codes require that water heater installations be done by a licensed professional. Make sure to check your local regulations before attempting a DIY installation.
If you need expert advice or the right tools for installing your water heater, visit Plumbers Supply Hub for the best product recommendations and professional guidance.
 Watertight Watercare Inc4.0 (35 reviews)
 VIP Sewer and Drain Services, Inc4.0 (469 reviews)
 Top Notch Plumbing Inc.5.0 (481 reviews)
 New Flow Plumbing4.0 (49 reviews)
 Duke’s Plumbing & Drain5.0 (7 reviews)
 Comfy Kozy®️ Heating Cooling Plumbing4.0 (17 reviews)
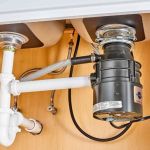 When to Replace a Garbage Disposal Rather Than Repairing It
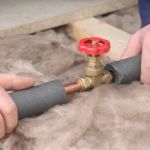 How to Insulate Exposed Pipes Without Blocking Access
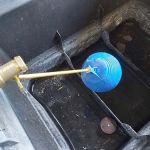 How to Replace a Float Valve in a Rain Barrel System
 How to Test Water Pressure at Multiple Fixtures
 How to Test an Expansion Tank on Your Water Heater
 How to Troubleshoot and Fix a Low Flow Showerhead