
- understanding-kitchen-sink-plumbing-system - basic-components-and-functions
- tools-and-materials-needed - preparing-for-installation
- step-by-step-installation-process - installing-the-plumbing-system
- common-mistakes-to-avoid - plumbing-errors-homeowners-make
- real-homeowner-installation-story - practical-example
- maintenance-tips-after-installation - keeping-your-system-working
Understanding Kitchen Sink Plumbing System
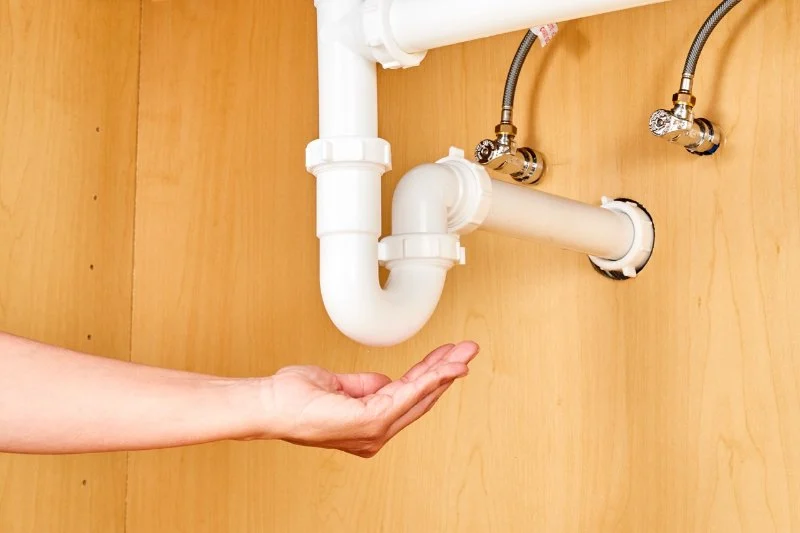
Installing a new kitchen sink plumbing system may seem intimidating at first, but once you understand the basic components, the process becomes much easier. Every kitchen sink relies on a combination of pipes, valves, and fittings designed to deliver clean water and remove wastewater efficiently.
1. Key Components in a Kitchen Sink Plumbing Setup
A typical kitchen sink plumbing system includes supply lines that bring water to the faucet, a drain assembly that carries wastewater away, and a P-trap that prevents sewer gases from entering your home. Each component plays an important role in maintaining safe and effective plumbing.
2. Why Proper Installation Matters
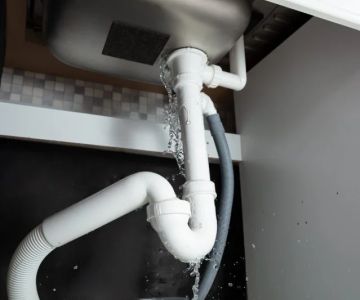
If the plumbing system under a sink is installed incorrectly, it can lead to leaks, foul odors, or drainage issues. Proper alignment of pipes and secure connections ensure the system works smoothly for years.
Tools and Materials Needed
Before starting your installation project, gathering the right tools and materials will save time and prevent frustration.
1. Essential Tools
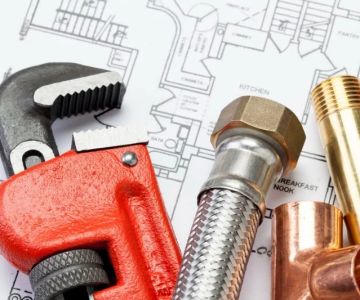
Most kitchen sink plumbing installations require basic tools such as adjustable wrenches, pipe cutters, plumber’s tape, a bucket, and a screwdriver. Having these tools ready helps simplify the process.
2. Plumbing Materials
The materials needed typically include a drain kit, P-trap assembly, tailpiece pipe, compression fittings, and flexible water supply lines. These items ensure the plumbing system connects properly to both the sink and the household drainage system.
Step-by-Step Installation Process
Installing a kitchen sink plumbing system involves several steps that must be completed carefully to avoid leaks or alignment problems.
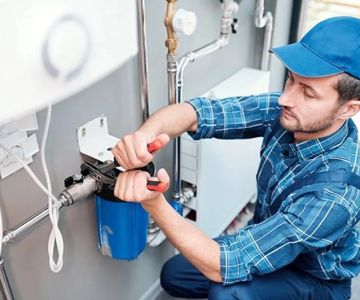
1. Shut Off the Water Supply
Before beginning installation, turn off the water supply valves under the sink. This prevents water from flowing while you connect the plumbing system.
2. Install the Sink Drain Assembly
The first step is attaching the drain flange and basket strainer to the sink opening. A thin layer of plumber’s putty helps create a watertight seal between the drain and the sink surface.
3. Connect the Tailpiece and P-Trap
Once the drain is secured, attach the tailpiece pipe that extends downward from the sink drain. The P-trap then connects the tailpiece to the wall drain pipe. This curved pipe traps a small amount of water, preventing sewer gases from entering the kitchen.
4. Attach Water Supply Lines
Flexible water supply lines connect the faucet to the household water valves. Tighten these connections carefully using a wrench, but avoid overtightening to prevent damage.
5. Test the System
After installation, turn the water supply back on and run the faucet. Carefully check all connections for leaks and ensure water flows smoothly through the drain.
Common Mistakes to Avoid
Many homeowners attempt DIY plumbing installations but run into common mistakes that can cause problems later.
1. Improper Pipe Alignment
If the pipes are not aligned properly, the P-trap may not seal correctly. This can lead to leaks or slow drainage.
2. Forgetting Plumber’s Tape
Plumber’s tape is essential for sealing threaded pipe connections. Without it, small leaks can occur over time.
3. Over-Tightening Fittings
Many beginners believe tighter connections are always better. However, overtightening compression fittings can damage seals and cause cracks in plastic pipes.
Real Homeowner Installation Story
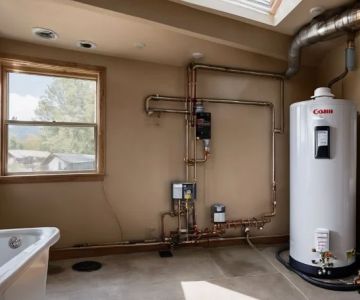
A homeowner in Colorado once shared how replacing a kitchen sink and plumbing system became a weekend project that taught them valuable lessons about plumbing.
1. The First Attempt
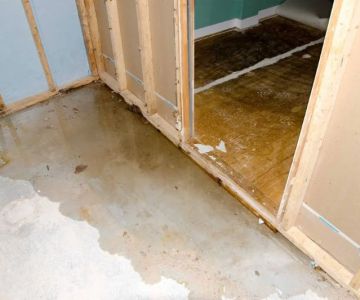
During the initial installation, the homeowner forgot to properly align the P-trap, causing a slow drip that wasn’t immediately noticeable.
2. The Fix
After researching proper installation techniques and adjusting the pipe alignment, the leak was resolved completely. The experience highlighted how small adjustments can make a big difference in plumbing installations.
Maintenance Tips After Installation
Once your new kitchen sink plumbing system is installed, a few simple habits can help maintain its performance.
1. Inspect Connections Periodically
Occasionally checking pipe connections under the sink can help catch small leaks before they become serious issues.
2. Avoid Grease in the Drain
Grease and oils can solidify inside pipes and cause clogs. Using a sink strainer and disposing of grease properly helps maintain smooth drainage.
3. Clean the P-Trap When Needed
If the sink begins draining slowly, the P-trap may contain debris buildup. Removing and cleaning it periodically keeps the system working efficiently.
If you are planning a sink installation or upgrading your plumbing setup, reliable parts and tools make the process easier. Exploring trusted resources like Plumbers Supply Hub can help you find the right fittings, kits, and equipment needed to complete your kitchen sink plumbing project successfully.

 Spirit Plumbing LA0.0 (0 reviews)
 Basic Backflow3.0 (12 reviews)
 Alberto's Plumbing4.0 (61 reviews)
 Chastain Plumbing, Heating and Cooling4.0 (172 reviews)
 LoMonaco Coast Plumbing & Pipelining4.0 (262 reviews)
 Legend Serice Co LLC5.0 (12 reviews)
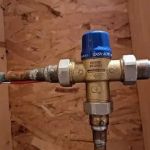 How to Replace a Mixing Valve for Tempered Water
 How to Prevent Water Heater Leaks with Regular Maintenance
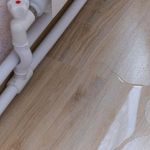 How to Detect Water Leaks in Your Plumbing System
 How to Replace a Toilet Tank Gasket | Plumbers Supply Hub
 How to Replace a Showerhead: Easy DIY Plumbing Fix for Homeowners
 The Top Plumbing Tools Every Homeowner Should Have in Their Toolkit