
1. Why Fix a Leaky Faucet?
If you’ve noticed a leaky faucet, you might be tempted to ignore it, but did you know that even a small drip can waste a significant amount of water over time? A dripping faucet can waste gallons of water a day, leading to higher water bills and contributing to environmental waste. Additionally, a leaky faucet can damage your sink, countertops, or cabinet, leading to costly repairs. In this guide, we’ll show you how to fix a leaky faucet like a pro, using simple techniques and expert plumbing tips.
2. Tools You'll Need for the Job
Before diving into the repair, gather these essential tools to make the process smooth and efficient:
- Adjustable wrench
- Phillips and flathead screwdrivers
- Plumber’s tape
- Replacement washer or valve (depending on the type of faucet)
- Faucet seat wrench (for certain faucet types)
- Bucket or towel (for catching excess water)
- Penetrating oil (if parts are stuck or corroded)
Having the right tools on hand will make the repair easier and faster, saving you both time and frustration.
3. Steps to Fix a Leaky Faucet
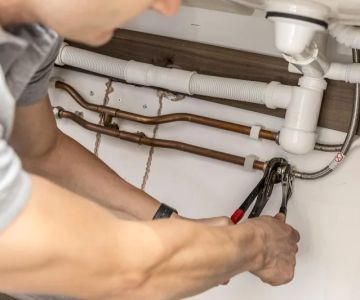
3.1 Turn Off the Water Supply
Before you start, make sure to turn off the water supply to your faucet. Typically, you’ll find the shut-off valves underneath the sink. Turn the valves clockwise to stop the water flow. If you’re unsure, you can always turn off the main water supply to your home.
Place a towel or bucket under the faucet to catch any residual water that might spill out during the repair process.
3.2 Identify the Type of Leak
Faucets can leak in different ways, and the method to repair the leak depends on the type of faucet you have. There are four main types of faucets: compression, ball, cartridge, and disc faucets. Here’s how you can identify each type:
- Compression Faucets: These faucets use rubber washers to create a seal, and they often leak when the washer wears out.
- Ball Faucets: Found in single-handle faucets, ball faucets use a ball mechanism to control water flow, and they can leak if the seals or cam washers are damaged.
- Cartridge Faucets: These faucets use a cartridge to control water flow, and leaks can occur when the cartridge wears out or becomes clogged.
- Disc Faucets: Disc faucets have a ceramic disc cartridge, and they may leak due to mineral buildup or a damaged seal.
Once you know what type of faucet you have, you can proceed with the correct repair approach.
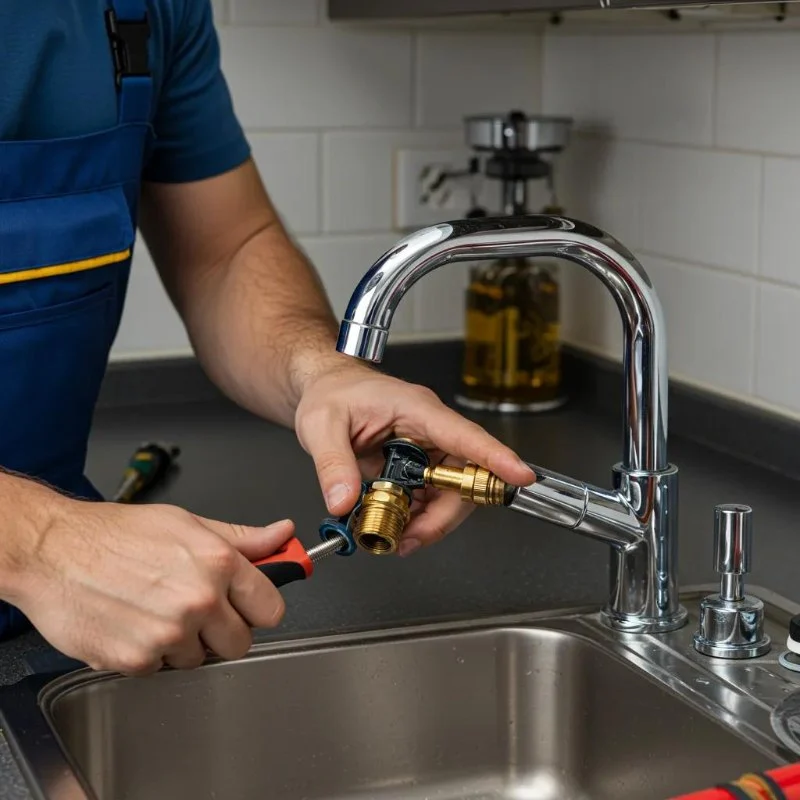
3.3 Disassemble the Faucet
Using a screwdriver and wrench, carefully disassemble the faucet. Remove the handle, and then take apart the faucet components. Keep track of the order and orientation of the parts so you can reassemble them later.
If you’re dealing with a compression faucet, you’ll likely find a washer inside that has become worn out. For cartridge or ball faucets, inspect the cartridge or ball for signs of wear or mineral buildup.
3.4 Replace Damaged Parts
Once you’ve identified the cause of the leak, replace the damaged parts. For compression faucets, replace the rubber washer. For ball or cartridge faucets, replace the seals or the entire cartridge if necessary. Ensure that the new parts are properly fitted and compatible with your faucet model.
It’s always a good idea to apply plumber’s tape to threaded connections to prevent leaks when reassembling the faucet.
3.5 Reassemble the Faucet
After replacing the necessary parts, reassemble the faucet in the reverse order you disassembled it. Ensure everything is securely tightened, but be careful not to overtighten, as this can damage the components.
3.6 Test the Faucet
Once the faucet is fully reassembled, turn the water supply back on and test the faucet for leaks. Let the water run for a few minutes to check for any signs of dripping. If the leak persists, you may need to check for additional wear or improperly installed parts.
4. Real-Life Example: Fixing a Leaky Faucet
Let’s take a look at a real-life example. Emily, a homeowner, was frustrated with a leaky kitchen faucet. The drip was constant, and it was becoming an annoyance. After shutting off the water supply and disassembling the faucet, Emily discovered that the rubber washer in her compression faucet was worn out. After replacing the washer and reassembling the faucet, the leak was completely gone, and Emily saved money by handling the repair herself.
This scenario illustrates how simple it can be to fix a leaky faucet once you identify the issue and have the right tools on hand.
5. When to Call a Plumber
While fixing a leaky faucet can often be a DIY project, there are times when you should call a professional plumber:
- If the faucet continues to leak after replacing the parts
- If you encounter corroded or stuck parts that can’t be removed
- If you’re dealing with a more complex issue, such as a broken valve seat or damaged plumbing components
- If you’re unsure about which parts need to be replaced
In these cases, a plumber can diagnose the problem and provide an expert solution to ensure your faucet works properly without further issues.
6. Conclusion
Fixing a leaky faucet is a manageable task for homeowners who want to save money on professional repairs. By following these expert plumbing tips, you can repair most faucet leaks with ease. Remember to turn off the water supply, identify the leak, replace any damaged parts, and reassemble the faucet carefully. If the issue persists, don’t hesitate to call a plumber for help. Visit Plumbers Supply Hub for the best tools and parts for your DIY plumbing repairs.

 Imaginaire5.0 (16 reviews)
 Plumbing Plus Co4.0 (27 reviews)
 Dailys Drain Service5.0 (4 reviews)
 Burnett Septic & Drain5.0 (5 reviews)
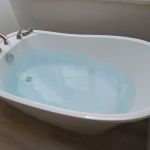 Killeen Plumbing Company4.0 (426 reviews)
 Mr. Plumber by Metzler & Hallam4.0 (943 reviews)
 How to Repair a Pipe Saddle That Leaks
 How to Clean and Maintain Your Shower Head for Better Flow
 How to Clean and Maintain Your Plumbing Pipes for Better Performance
 How to Troubleshoot a Noisy Toilet: Common Causes and Solutions
 How to Inspect Plumbing Connections in an Addition: A Step-by-Step Guide
 How to Protect Pipes from Freezing in Cold Climates