
1. Introduction: Why You May Need to Replace a Broken Toilet Bowl
Toilets are essential in every home, but when one breaks, it can be a frustrating and inconvenient experience. Whether it's due to cracks in the ceramic, issues with the flushing mechanism, or wear and tear over the years, replacing a broken toilet bowl may be necessary. In this article, we'll walk you through the steps for replacing a toilet bowl, ensuring that the process is easy to follow and hassle-free.
Replacing a toilet bowl may seem like a daunting task, but with the right tools, parts, and instructions, it's entirely doable as a DIY project. If you're ready to tackle this task, let's dive into the process of replacing your broken toilet bowl.

Bayless Plumbing Sewer & Drain LLC
700 Gainsborough Rd, Dayton, OH 45419, USA
2. How to Identify When It’s Time to Replace Your Toilet Bowl
Before diving into the replacement process, it's essential to understand when a toilet bowl needs to be replaced rather than just repaired. Here are a few common signs that indicate it's time for a replacement:
- Cracks or Chips: Visible cracks or chips in the toilet bowl are a clear sign that it needs replacing. Water can leak out from cracks, causing further damage and potential water waste.
- Frequent Leaks: If your toilet is constantly leaking around the base or from the tank, this could be a sign of a broken seal or bowl, requiring a replacement.
- Constant Clogging: If your toilet continually clogs despite regular maintenance, it might be due to an internal issue in the bowl that cannot be repaired effectively.
- Old Age: If your toilet is several decades old, it may have worn out, especially if it's seen heavy use over the years.
If any of these issues sound familiar, it's likely time to replace the toilet bowl rather than attempting repairs that may not last.

3. Tools and Materials Needed for Replacing a Toilet Bowl
Before you begin replacing your broken toilet bowl, it's important to gather the necessary tools and materials. Here’s what you’ll need:
- New Toilet Bowl: Choose the right size and style for your bathroom.
- Wrench or Socket Set: To remove bolts and fasteners.
- Plumber’s Putty: To create a seal around the base of the new toilet.
- Rubber Gasket: To seal the toilet to the drainpipe.
- New Bolts: You may need to replace the old bolts that secure the toilet.
- Bucket and Towels: For any water that may spill during the process.
- Gloves: To protect your hands while working.
- Cleaning Supplies: For cleaning the area once the old toilet is removed.
Having everything ready before starting will ensure that you don't have to stop in the middle of the job to gather tools.
4. Step-by-Step Guide: How to Replace a Broken Toilet Bowl
Now that you’re prepared, it’s time to replace your broken toilet bowl. Follow these steps to complete the replacement:
4.1 Turn Off the Water Supply
Before you begin, turn off the water supply to the toilet. This is usually done by turning the valve located behind the toilet clockwise. Then, flush the toilet to drain out as much water as possible from the tank and bowl.
4.2 Disconnect the Water Line
Next, disconnect the water supply line from the tank. Use a wrench to loosen the nut connecting the line to the toilet’s tank. Once it's loose, remove the line and set it aside.
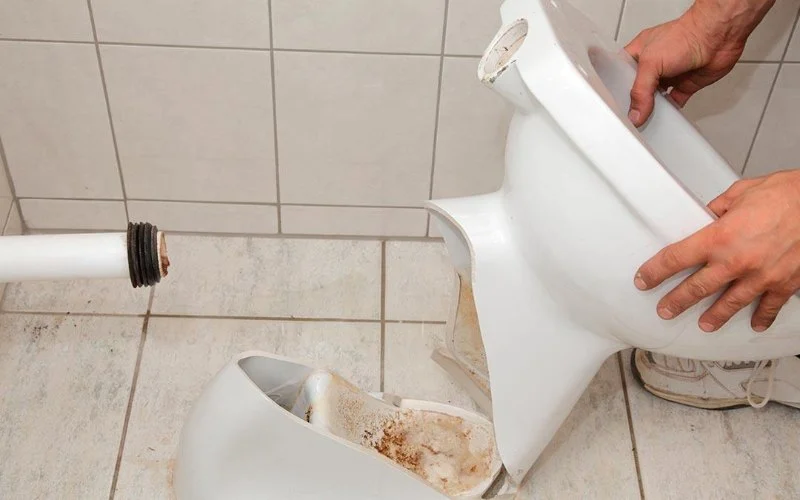
4.3 Remove the Toilet Bowl
To remove the toilet bowl, you’ll need to unbolt it from the floor. Look for the bolts on each side of the toilet's base and use a wrench to remove them. Be careful, as some toilets may be heavy. Once the bolts are removed, gently lift the toilet off the flange and set it aside on a towel or other surface to prevent any damage.
4.4 Clean the Flange Area
Once the old toilet bowl is removed, you'll need to clean the flange area. This is where the new toilet bowl will be placed. Remove any old wax or debris and ensure the flange is in good condition. If necessary, replace the wax ring with a new one to prevent leaks.
4.5 Install the New Toilet Bowl
Place the new rubber gasket onto the flange, and then carefully lower the new toilet bowl onto it. Align the holes in the toilet bowl with the holes in the floor flange. Once it’s in position, insert the new bolts through the base of the toilet and tighten them down to secure the toilet in place.
4.6 Reconnect the Water Supply
Reconnect the water supply line to the tank. Tighten the connection by hand and use a wrench to give it an extra twist if necessary, but don’t overtighten it. Once the water is reconnected, turn the water valve back on.
4.7 Test the Toilet
Turn on the water supply and flush the toilet to make sure it’s functioning properly. Check for any leaks around the base and connections. If you notice any leaks, tighten the bolts or connections slightly to ensure everything is sealed properly.
5. Tips for Maintaining Your New Toilet Bowl
Once your new toilet bowl is installed, it's important to maintain it properly to ensure it lasts as long as possible. Here are some tips:
- Clean regularly: Keep the toilet clean and free of buildup by using appropriate cleaning products.
- Check for leaks: Periodically check the base and connections for leaks to catch any issues early.
- Avoid harsh chemicals: Avoid using harsh chemicals in the toilet bowl that could damage the ceramic or plumbing over time.
By following these maintenance tips, you can enjoy your new toilet for years to come.
6. Conclusion: Enjoy Your Fully Functional Toilet
Replacing a broken toilet bowl may seem like a big task, but with the right tools and a little patience, it can be done quickly and efficiently. By following this step-by-step guide, you can restore your bathroom’s functionality and avoid the hassle of costly professional repairs. If you’re unsure or prefer professional help, don't hesitate to contact a plumber. For all your toilet replacement needs, check out Plumbers Supply Hub for the best products and services to help you with your project.


 Janecky Plumbing Services Inc5.0 (2 reviews)
 JMS Express Plumbing West Los Angeles5.0 (61 reviews)
 Baker & Sons Plumbing Inc3.0 (30 reviews)
 Kino's Plumbing and Drain5.0 (65 reviews)
 KK&J Plumbing and Heating5.0 (28 reviews)
 Clark Plumbing & Heating3.0 (10 reviews)
 How to Troubleshoot Your Plumbing System: A Homeowner’s Guide
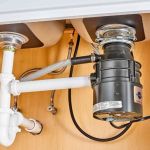 When to Replace a Garbage Disposal Rather Than Repairing It
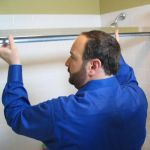 How to Replace a Shower Glass Door Without Causing Leaks
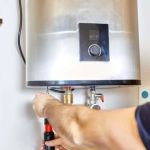 Pros and Cons of Tankless vs Traditional Water Heaters
 How to Replace a Broken Drain Elbow | Plumbers Supply Hub
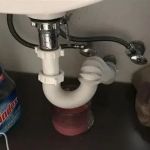 How to Fix a Sink That Drains Slowly Over Time: Expert Tips for a Faster Drain