
- 1-Introduction
- 2-Tools and Preparation for Repairing a Broken Overflow Pipe
- 3-Step-by-Step Guide to Repair a Broken Overflow Pipe
- 4-Common Issues and How to Fix Them
- 5-Preventive Measures to Avoid Future Leaks
- 6-Conclusion
1-Introduction
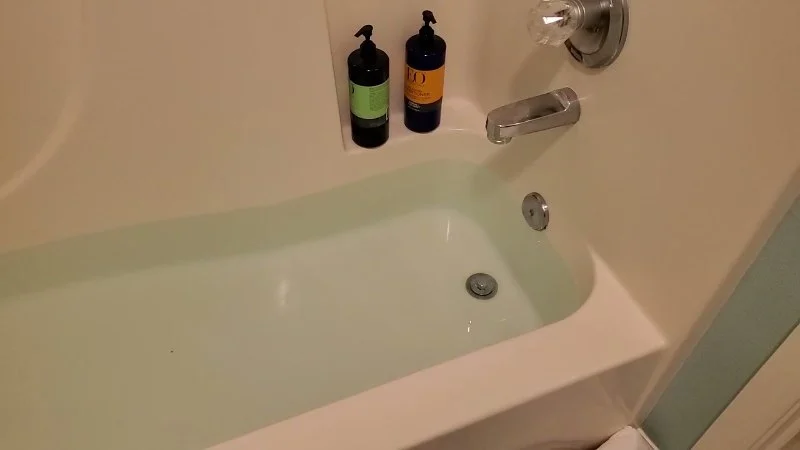
Dealing with a broken overflow pipe in your bathtub can seem like a daunting task, but it’s an issue that many homeowners can resolve with the right tools and guidance. Overflow pipes are an essential part of your bathtub's drainage system, preventing water from overflowing and damaging your bathroom. If your overflow pipe is broken or leaking, it’s crucial to repair it promptly to avoid water damage and mold growth. In this guide, we’ll walk you through the steps to repair a broken overflow pipe in your tub, ensuring a secure and leak-free fix.

2-Tools and Preparation for Repairing a Broken Overflow Pipe
Before you begin the repair process, you’ll need to gather the proper tools and prepare the area. Here’s what you’ll need:
- Tools Needed:
- Adjustable wrench
- Pipe sealant or plumbing tape
- Replacement overflow pipe or parts
- Screwdriver (if necessary for removing parts)
- Plumbing putty
- Preparation:
- Turn off the water supply to the tub.
- Clear the area around the tub and ensure good lighting for visibility.
- If necessary, remove any access panels or coverings around the overflow pipe area.
3-Step-by-Step Guide to Repair a Broken Overflow Pipe
Now that you’ve gathered your tools and prepared the area, it’s time to start the repair process. Follow these steps for an effective and lasting fix:
- Step 1: Inspect the Damage Begin by thoroughly inspecting the broken overflow pipe. Look for any visible cracks, loose fittings, or signs of wear that may be contributing to the leak. If the pipe is cracked or broken, it will likely need to be replaced. If the issue is a loose connection, you may only need to tighten it. pgsqlCopy code
- Step 2: Remove the Old Pipe Use your wrench or screwdriver to remove the old or damaged overflow pipe. Be sure to loosen any screws or nuts carefully, and keep track of any washers or seals that may be used for reassembly.
- Step 3: Install the New Pipe If replacing the overflow pipe, carefully insert the new pipe into the existing connection point. Ensure that it fits properly and securely. If the pipe is threaded, apply pipe sealant or plumber’s tape to the threads before attaching it. This will help prevent future leaks.
- Step 4: Tighten All Connections Using the adjustable wrench, tighten all connections to ensure the new pipe is securely in place. Make sure not to overtighten, as this can cause damage to the pipe or fittings.
- Step 5: Test the Repair Once the new overflow pipe is installed, turn the water supply back on and run water in the bathtub to check for leaks. Inspect the repaired area carefully for any signs of water escaping. If there are no leaks, you’ve successfully completed the repair!
4-Common Issues and How to Fix Them
While repairing a broken overflow pipe is a straightforward task, there are a few common issues that might arise. Here’s how to address them:
- Issue 1: Persistent Leaks If you’ve tightened the connections and the pipe still leaks, it may be due to damaged seals or improper installation. Check the seals around the overflow pipe and replace any worn or damaged ones. If the issue persists, you may need to replace the entire pipe. pgsqlCopy code
- Issue 2: Difficulty Removing the Old Pipe Sometimes, old pipes can become corroded or tightly secured, making them difficult to remove. If this happens, try using a penetrating oil to loosen the connection, or use a pipe wrench for better leverage.
- Issue 3: Misaligned Pipe If the new pipe doesn’t fit properly, check to ensure you’ve purchased the correct size replacement. Also, make sure the connection points are aligned before tightening the fittings.
5-Preventive Measures to Avoid Future Leaks
Once you’ve repaired your broken overflow pipe, you’ll want to take steps to prevent future issues. Here are some tips to maintain your overflow pipe and avoid costly repairs down the line:
- Regularly Inspect Pipes: Periodically check your overflow pipes and other plumbing for signs of wear or corrosion. This will help you catch potential issues before they become major problems.
- Install Pipe Insulation: If you live in an area with extreme temperatures, consider installing pipe insulation to protect your pipes from freezing or cracking.
- Ensure Proper Drainage: Keep your tub and drain system clear of debris to prevent clogging, which can put pressure on the overflow pipe.
6-Conclusion
Repairing a broken overflow pipe in your tub is a manageable task that can save you time and money. By following the steps outlined in this guide and addressing any common issues, you can ensure a secure and leak-free installation. For all your plumbing needs, be sure to visit Plumbers Supply Hub for high-quality tools, parts, and expert advice.


 1-Tom-Plumber4.0 (555 reviews)
 Right Choice Rooter & Plumbing Service4.0 (82 reviews)
 Cottonwood Co-Op Agronomy Center5.0 (5 reviews)
 Lloyd's Ideal Plumbing LLC4.0 (8 reviews)
 PF Plumbing4.0 (1753 reviews)
 Alfa Backflow Inc.4.0 (52 reviews)
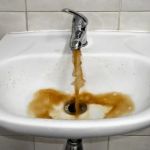 What Causes Discolored Water and When to Worry: Causes, Effects, and Solutions
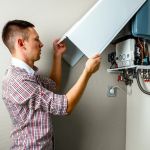 Tankless Water Heaters: Are They Worth the Investment? Pros and Cons Explained
 What Causes Discolored Water and When to Worry
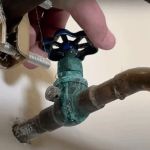 How to Replace a Broken Valve in a Water Line
 How to Choose a Reliable Plumbing Service in Your Area
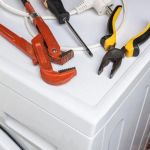 How to Install a Washing Machine: A Complete DIY Guide