
1. The Importance of Proper Plumbing for New Appliances
When installing a new appliance that requires water connections, such as a dishwasher, refrigerator, or washing machine, it’s crucial to route the plumbing correctly. Proper plumbing ensures the appliance functions as intended, prevents leaks, and avoids costly repairs down the line. Incorrectly installed plumbing can lead to water damage, inefficient performance, or even appliance failure. Whether you're installing a new appliance yourself or hiring a professional, understanding the fundamentals of appliance plumbing will help you make informed decisions.
Lights Plumbing & Drain Cleaning LLC. Lynchburg va plumber
LynchburgCampbell CountyVirginia
1007 Rainbow Forest Dr, Lynchburg, VA 24502, USA
2. Tools and Materials Needed for Installing Appliance Plumbing
Before you start installing plumbing for your new appliance, gather the necessary tools and materials. Having everything prepared beforehand can make the process smoother and quicker. Here’s a list of what you’ll need:
G.I. Plumbing: Expert Plumber & Drain Services Near You in Bethel Park
PittsburghAllegheny CountyPennsylvania
951 Killarney Dr, Pittsburgh, PA 15234, USA
2.1 Required Tools
- Pipe cutter or hacksaw for cutting pipes to size
- Adjustable wrench for tightening fittings
- Plumbing tape or Teflon tape for sealing connections
- Channel lock pliers for securing plumbing fixtures
- Level to ensure the appliance is properly aligned
- Bucket or towels to catch any water spills during the process
2.2 Required Materials
- PVC pipes or copper pipes, depending on your plumbing system
- Pipe fittings such as elbows, tees, and couplings
- Water shut-off valve for new appliance connections
- Flexible hoses for connecting the appliance to water supply lines
- Plumber’s putty or silicone sealant for securing connections
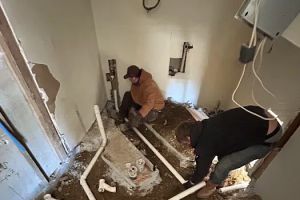
3. Steps for Installing Plumbing for a New Appliance
Now that you have your tools and materials, follow these steps to route plumbing for your new appliance:
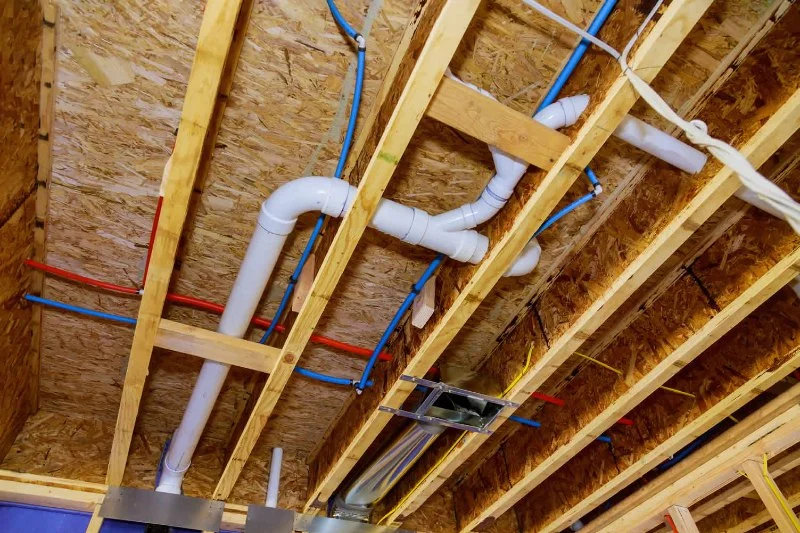
3.1 Locating the Water Supply
The first step is to locate the nearest water supply line for the appliance. For dishwashers, this is usually under the kitchen sink; for refrigerators, it may be near the existing water line for your icemaker or water dispenser. Make sure the water supply is easily accessible and shut off the water supply before proceeding with any plumbing work.
3.2 Preparing the Plumbing Connections
Once you've located the water supply, you'll need to prepare the plumbing connections. If you’re working with PVC pipes, use a pipe cutter to measure and cut the pipes to the necessary length. If you’re using copper pipes, use a pipe bender and a cutter to shape and cut the pipes. Ensure that all connections are snug and free from gaps, which could cause leaks.
3.3 Installing Valves and Fittings
Next, install the necessary valves and fittings to create a secure connection to your appliance. This may involve attaching a shut-off valve to the water line for the appliance’s water intake. Use Teflon tape around the threads of each fitting to prevent leaks, and ensure that all connections are tightly secured. Double-check for any loose fittings before moving on to the next step.
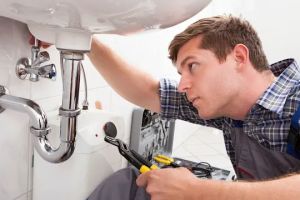
3.4 Connecting the Appliance
Once the plumbing is set up, you can connect the appliance to the water supply. Use flexible hoses to attach the appliance’s water intake port to the newly installed plumbing connections. If the appliance has a drain, connect the drain line to the existing drain system. Ensure the hose is properly secured with clamps, and make sure there are no kinks or twists in the line that could impede water flow.
3.5 Checking for Leaks
After everything is connected, it’s important to test the system for leaks. Turn on the water supply and check all plumbing connections for any signs of leakage. If you spot any leaks, tighten the fittings or add more plumber’s tape as needed. Also, check the appliance’s connections to ensure there are no issues with water flow.
4. Troubleshooting Plumbing Issues for New Appliances
Even with careful installation, plumbing issues can arise with appliances. Here are a few common problems and solutions:
4.1 Low Water Pressure
If you notice low water pressure after connecting your appliance, the issue could be with the water supply valve or a clogged hose. Check the valve to ensure it is fully open, and inspect the hose for any blockages or kinks that could restrict water flow.
4.2 Appliance Not Filling with Water
If your appliance, such as a dishwasher, isn’t filling with water, check the connection between the appliance and the water line. Ensure that the hose is securely attached, and verify that the valve is working correctly. You may also need to clean the water inlet valve if it’s clogged with debris.
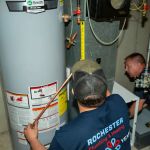
5. Maintaining Your Appliance Plumbing System
Once your plumbing is installed and the appliance is functioning properly, it’s important to maintain the system to ensure longevity and prevent problems. Regularly check for leaks, inspect the hoses for wear, and clean the water supply valves to keep everything running smoothly. If you notice any issues with the water supply or drainage, address them promptly to prevent further damage.
For more guidance on appliance plumbing or to purchase the necessary parts and tools, visit Plumbers Supply Hub, where you’ll find everything you need for your plumbing projects.


 Rochester Plumbing & Heating5.0 (9 reviews)
 Armstrong Comfort Solutions4.0 (1192 reviews)
 L T Plumbing Llc4.0 (10 reviews)
 Pro Plumbing Inc.4.0 (38 reviews)
 Michael Shaver Plumbing, Septic, and Dirt Works5.0 (133 reviews)
 ZIMDARS PLUMBING & HEATING4.0 (38 reviews)
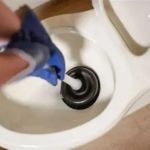 Steps to Unclog a Toilet That Won’t Flush Properly
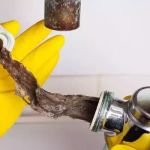 How to Clean Sediment Build-Up in Household Pipes
 What to Do When Your Sink Leaks Only at the Base: Causes & Fixes
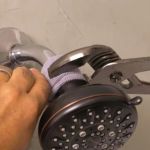 How to Replace a Showerhead with Low Flow Design for Water Conservation
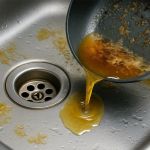 What Happens When You Pour Grease Down the Drain
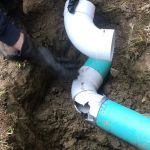 How to Replace a Broken Pipe Without Major Construction Work