
How to Install a Bidet Attachment Safely
Installing a bidet attachment is one of the easiest ways to upgrade your bathroom for comfort, hygiene, and sustainability. However, doing it safely and correctly is crucial to prevent leaks, water pressure issues, or damage to your toilet. Whether you’re a DIY enthusiast or new to plumbing tasks, this guide will walk you through every step of a safe and efficient bidet installation. We’ll also share expert tips, real-life examples, and trusted product recommendations from Plumbers Supply Hub.
- 1. Why Install a Bidet Attachment
- 2. Tools and Preparation Before Installation
- 3. Step-by-Step Guide to Installing a Bidet Attachment
- 4. Safety Checks and Common Mistakes to Avoid
- 5. Real-Life Experience: A Homeowner’s Installation Story
- 6. Trusted Supplies and Support from Plumbers Supply Hub
1. Why Install a Bidet Attachment
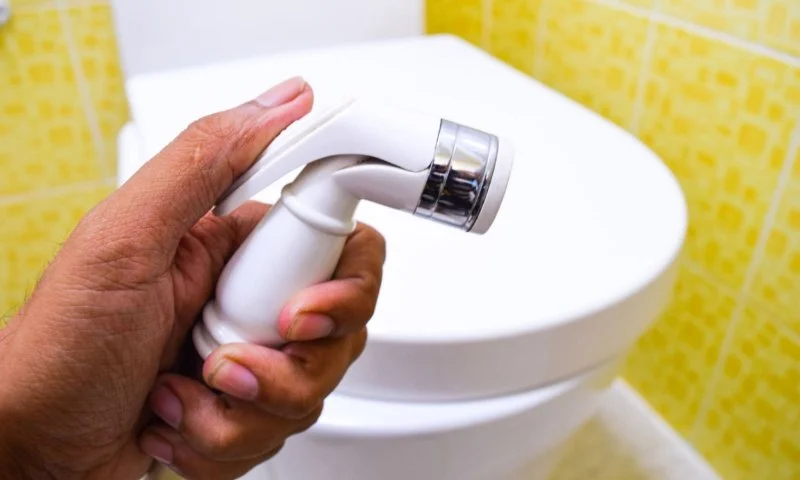
Bidet attachments are becoming increasingly popular in the U.S. for their convenience, hygiene, and eco-friendliness. Unlike full bidet toilets, attachments are affordable and easy to install—typically taking less than 30 minutes. They use minimal water but provide superior cleaning compared to traditional toilet paper, reducing waste and irritation.
Health and Environmental Benefits
Using a bidet can significantly reduce skin irritation and improve hygiene, particularly for individuals with sensitive skin or mobility challenges. Environmentally, switching to a bidet helps cut down on paper consumption, making it a sustainable choice for eco-conscious households.

2. Tools and Preparation Before Installation
Before you begin installing your bidet attachment, it’s important to gather the right tools and understand the parts you’ll be working with. Most modern bidet attachments come with an easy-to-follow kit, but having a few additional items on hand ensures a smoother installation process.
What You’ll Need
- Adjustable wrench
- Flathead screwdriver
- Plumber’s tape (Teflon tape)
- Towels or a small bucket (for catching water)
- The bidet attachment kit (usually includes a T-valve and hoses)
Preparing Your Toilet
Start by turning off the water supply valve located near the toilet’s base. Flush the toilet to empty the tank and reduce water pressure. Place a towel or bucket underneath the valve connection to catch any residual water before disconnecting the supply line.
3. Step-by-Step Guide to Installing a Bidet Attachment
Once you’re prepared, follow these detailed steps to safely install your bidet attachment.
Step 1: Remove the Toilet Seat
Use a screwdriver to loosen the bolts holding the toilet seat in place. Carefully remove it and set it aside. This will expose the mounting holes where your bidet attachment will sit.
Step 2: Attach the Bidet Bracket
Align the bidet’s mounting bracket with the bolt holes, then replace the toilet seat on top. Secure the bolts firmly, ensuring the attachment doesn’t shift when you move it.
Step 3: Connect the T-Valve
Detach the flexible water supply hose from the toilet tank’s fill valve. Install the T-valve that came with your bidet kit between the hose and the tank. This fitting splits the water flow between your toilet and the bidet.
Step 4: Attach the Water Hose
Connect one end of the bidet hose to the T-valve and the other end to your bidet attachment. Use plumber’s tape on the threads to ensure a watertight seal, but avoid over-tightening.
Step 5: Turn On the Water Supply
Slowly reopen the water valve and check for any leaks around the connections. If you see drips, tighten the fittings gently. Test the bidet controls to ensure proper water flow and pressure.
4. Safety Checks and Common Mistakes to Avoid
Installing a bidet attachment is simple, but overlooking small details can cause big issues. Always double-check your connections before using the bidet regularly.
Common Mistakes
- Over-tightening fittings, which can crack plastic parts
- Using the wrong T-valve size for your toilet model
- Forgetting to shut off the water before disconnecting hoses
- Ignoring small leaks, which can lead to water damage over time
Safety Recommendations
Ensure that your bidet’s water pressure is adjusted to a comfortable level before first use. High pressure can cause discomfort or even damage to delicate plumbing components. If you’re uncertain, consult a professional plumber for a quick inspection.
5. Real-Life Experience: A Homeowner’s Installation Story
When Mark from Austin, Texas, decided to install his first bidet attachment, he was skeptical about the process. “I thought I’d need a plumber,” he said, “but with a little patience, it took less than half an hour.” Using a step-by-step guide and a quality bidet kit from Plumbers Supply Hub, Mark was able to install it without leaks or hassle. Afterward, he reported lower toilet paper use and a noticeable boost in comfort. His story is a great reminder that even first-time DIYers can handle this upgrade safely.
6. Trusted Supplies and Support from Plumbers Supply Hub
At Plumbers Supply Hub, we understand that home installations require reliable, high-quality components. That’s why we offer a selection of durable bidet attachments, valves, and plumbing accessories trusted by professionals and homeowners alike. Whether you need eco-friendly bidets, water-saving fittings, or complete installation kits, you can find the perfect match for your bathroom needs.
Installing a bidet attachment doesn’t have to be complicated. With the right tools, a bit of patience, and the right parts from Plumbers Supply Hub, you can enjoy a cleaner, safer, and more comfortable bathroom experience.


 Ro-mar Supply Inc4.0 (66 reviews)
 Ferrari Plumbing, Inc.4.0 (641 reviews)
 John Beale Plumbing Co Inc4.0 (13 reviews)
 Lakeshore Plumbing & Heating3.0 (7 reviews)
 Maverick Drains5.0 (35 reviews)
 Clear Choice Plumbing & Rooter Inc.5.0 (11 reviews)
 How to Replace a Water Heater Anode Rod
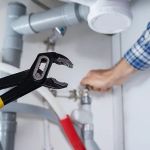 How to Maintain Your Plumbing System to Avoid Costly Repairs
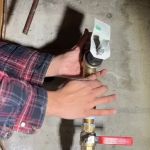 How to Install a Water Pressure Regulator: A DIY Plumbing Project
 The Risks of Installing Incorrectly Sized Pipes
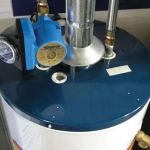 How to Install a Recirculating Pump for Instant Hot Water – A Step-by-Step Guide
 How to Replace an In-Line Check Valve