
- 1. Understanding Shower Valve Problems
- 2. Tools Needed for Replacing a Shower Valve
- 3. Step-by-Step Guide for Replacing a Shower Valve
- 4. Common Mistakes to Avoid
- 5. Where to Buy Parts for Your DIY Project
1. Understanding Shower Valve Problems
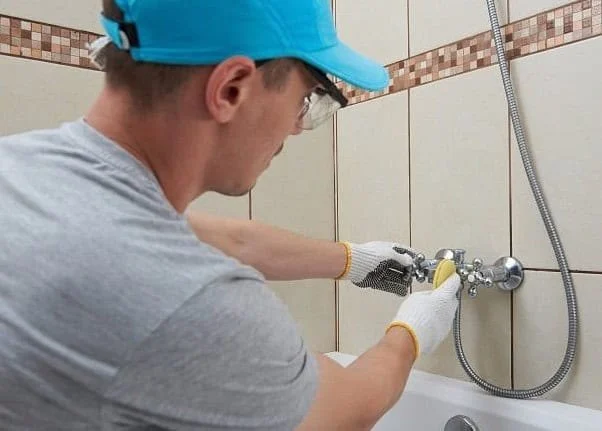
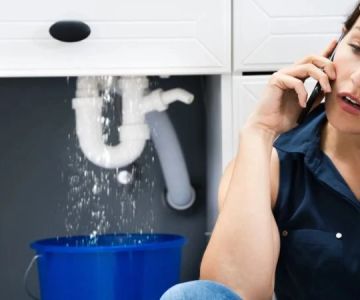
Shower valves control the flow and temperature of the water coming out of your showerhead. Over time, they can wear out or become damaged due to regular use, mineral buildup, or simply old age. Common problems include inconsistent water temperature, water leaking around the valve, or no water flow at all. While these issues are frustrating, they are usually fixable with a valve replacement.
If you're considering replacing your shower valve, you may be wondering whether it's something you can handle yourself. Fortunately, replacing a shower valve is a manageable DIY project if you're comfortable working with basic plumbing. This guide will walk you through the process of replacing your shower valve, saving you the expense of hiring a plumber.

Mr. Rooter Plumbing of Winston Salem
Winston-SalemForsyth CountyNorth Carolina
163 Stratford Ct #235, Winston-Salem, NC 27103, USA
2. Tools Needed for Replacing a Shower Valve
Before diving into the replacement, it's essential to gather the right tools. Here’s a list of the basic tools you'll need for this project:
- Pipe Wrench: To remove the old valve and its components securely.
- Adjustable Wrench: Useful for loosening nuts and fittings.
- Phillips and Flathead Screwdrivers: To remove screws and secure the new valve.
- Plumber’s Tape: To prevent leaks by ensuring a tight seal on the new valve’s connections.
- Shower Valve Kit: A replacement valve kit designed for your shower system, which can be found at most home improvement stores or online.
- Caulking Gun and Sealant: To seal around the valve after installation, preventing water from leaking into the wall.
Having these tools ready will help streamline the process and ensure that the valve is installed correctly.
Caputo Mechanical Services Inc.
NashvilleDavidson CountyTennessee
2805 Old Hickory Blvd, Nashville, TN 37138, USA
3. Step-by-Step Guide for Replacing a Shower Valve
Now that you have your tools, let's break down the steps to replacing your shower valve:
- Turn off the Water Supply: The first and most important step is to turn off the water supply to the shower. Find the shutoff valves and ensure no water is running before you start working.
- Remove the Handle and Trim Plate: Use your screwdriver to remove the shower handle and trim plate, exposing the valve underneath. You may need to remove screws or bolts to do this.
- Disconnect the Old Valve: Use the pipe wrench and adjustable wrench to loosen and disconnect the old valve. Take note of how the old valve is connected to help you with the installation of the new one.
- Install the New Valve: Position the new shower valve into place and secure it with the screws and fittings provided. Be sure to apply plumber's tape to prevent leaks around the connections.
- Reattach the Handle and Trim Plate: Once the new valve is securely installed, reattach the handle and trim plate to complete the installation.
- Turn the Water Supply Back On: Finally, turn the water supply back on and check for leaks. If everything is properly connected, your new valve should function smoothly, providing consistent water temperature and flow.
4. Common Mistakes to Avoid
While replacing a shower valve is a straightforward process, there are a few common mistakes that DIYers tend to make. Avoid these errors to ensure a successful installation:
- Not Turning Off the Water Supply: Failing to turn off the water supply before starting can result in a messy, water-soaked project. Always ensure the water is off before removing the old valve.
- Incorrect Valve Size: Not all shower valves are the same. Ensure that the replacement valve you choose is compatible with your existing shower system.
- Over-tightening Connections: While it’s essential to secure the connections tightly, over-tightening can damage the fittings and cause leaks. Use just enough force to ensure a snug fit.
- Ignoring Leaks: After installation, check thoroughly for leaks. Even a small leak can lead to bigger problems, such as water damage inside the walls.
5. Where to Buy Parts for Your DIY Project
If you're planning to replace your shower valve, it's essential to buy the right parts. You can find high-quality shower valves, kits, and tools at local hardware stores or online. For a comprehensive selection of plumbing supplies, check out Plumbers Supply Hub, where you can find a variety of shower valve options, replacement kits, and tools to help you complete your DIY plumbing project efficiently and affordably.
By following these steps and taking your time to do the job right, you can replace your shower valve without needing to hire a plumber. This will save you money and give you the satisfaction of completing a successful DIY project on your own.

 L & H Plumbing0.0 (0 reviews)
 R&T Plumbing LLC5.0 (11 reviews)
 Prestige Plumbing4.0 (196 reviews)
 Re-pipe plumbing5.0 (8 reviews)
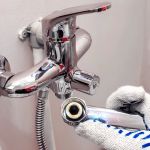 Semingson Aberle Plumbing LLC4.0 (18 reviews)
 Charles E Mc Clure Plumbing3.0 (2 reviews)
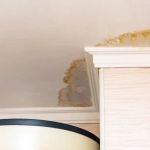 How to Locate Hidden Water Leaks in Walls or Ceilings: Tips for Homeowners
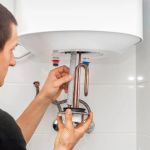 How to Replace a Water Heater Anode Rod - Step-by-Step Guide
 How to Replace a Bathtub Spout with Diverter
 Step-by-Step Guide to Installing a Radiant Floor Heating Plumbing Loop
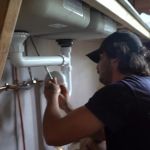 How to Inspect Plumbing After a Flood Event | Essential Steps for Homeowners
 How to Replace a Broken Drain Elbow | Plumbers Supply Hub