
- -how-to-install-a-new-shower-valve-without-calling-a-plumber
- -preparing-tools-and-materials-for-diy-shower-valve-installation
- -step-by-step-shower-valve-replacement-process
- -common-mistakes-and-how-to-avoid-them
- -real-life-diy-experiences-and-professional-advice
1. Preparing Tools and Materials for DIY Shower Valve Installation
Replacing a shower valve may seem daunting, but with the right tools and preparation, it can be a manageable DIY project. Essential tools include a pipe wrench, adjustable wrench, screwdriver set, plumber’s tape, and a new shower valve kit compatible with your existing plumbing.
For example, Brian, a homeowner in Denver, prepared his work area by shutting off the water supply, gathering all necessary tools, and watching tutorial videos to familiarize himself with the valve components. Proper preparation reduced installation time and minimized errors.
2. Step-by-Step Shower Valve Replacement Process
2.1 Shut Off Water Supply
Begin by turning off the main water supply to prevent leaks. Open the shower handle to drain remaining water from the pipes.
Benjamin Franklin Plumbing
42040 Koppernick Rd Suite 406, Canton Township, MI 48187, USA
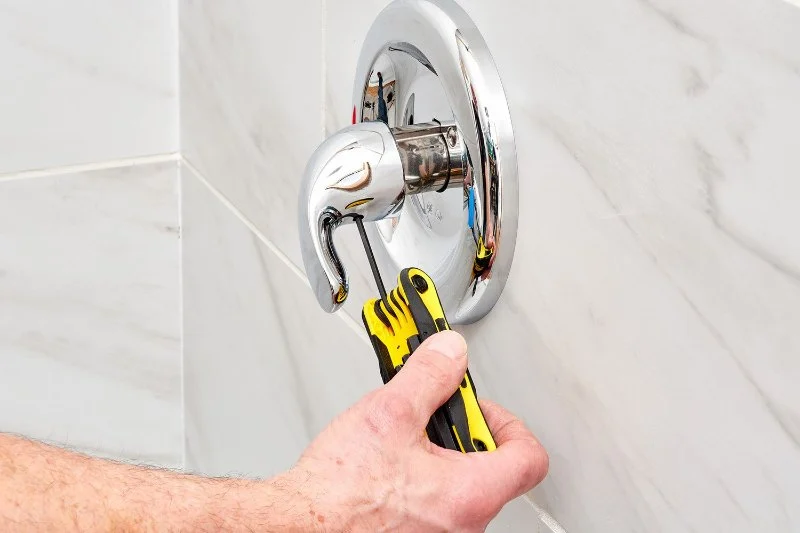
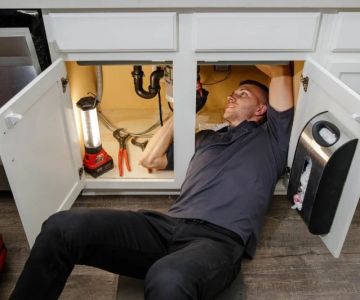
2.2 Remove Old Valve
Carefully remove the shower handle, escutcheon plate, and any trim. Use a wrench to loosen the old valve, taking note of the pipe connections for proper alignment of the new valve.
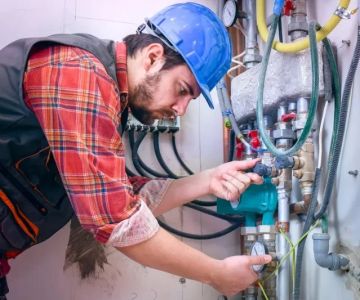
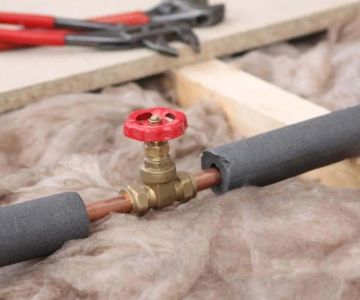
2.3 Install New Shower Valve
Position the new valve, ensuring that hot and cold inlets are correctly aligned. Secure the valve with appropriate fittings and use plumber’s tape to prevent leaks. Tighten connections carefully to avoid damaging the threads.
2.4 Reattach Handles and Trim
Once the valve is secured, reattach the escutcheon plate, handles, and trim. Double-check that all screws are tightened evenly and the handle operates smoothly.
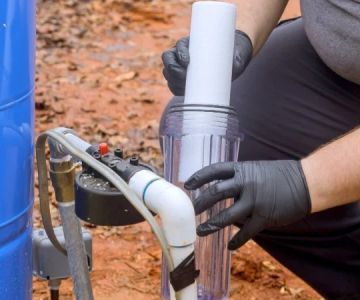
2.5 Test the System
Turn the water supply back on and test for leaks. Verify both hot and cold water functions correctly. Adjust the valve as needed to achieve balanced water flow and temperature.
3. Common Mistakes and How to Avoid Them
3.1 Improper Alignment
Incorrect positioning of the hot and cold inlets can lead to reversed water flow. Mark pipes clearly before installation to avoid confusion.
3.2 Over-Tightening Fittings
Over-tightening can damage threads or crack fittings. Apply moderate pressure and use plumber’s tape to ensure a secure seal without excessive force.
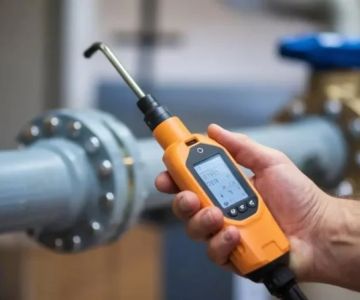
3.3 Ignoring Water Pressure Checks
Failing to verify water pressure after installation may result in weak flow or leaks. Always perform a thorough system test and monitor for consistent performance.
4. Real-Life DIY Experiences and Professional Advice
4.1 Case Study: Successful DIY Installation
Laura, a homeowner in Seattle, replaced her old shower valve without hiring a plumber. By following manufacturer instructions carefully and preparing all tools in advance, she completed the job in two hours. Her bathroom now has consistent water temperature and improved water flow.
4.2 When to Seek Professional Help
While many homeowners can replace shower valves successfully, complex plumbing layouts, inaccessible pipes, or recurring leaks may require professional assistance. For advice on selecting the right valve and tools, Plumbers Supply Hub provides curated products and expert guidance to support DIY projects.
4.3 Tips for a Smooth DIY Experience
- Read the manufacturer’s manual thoroughly before starting.
- Label all pipes and connections during disassembly.
- Have a bucket and towels ready to catch residual water.
- Use high-quality valves and fittings to reduce the risk of leaks.
- Double-check all connections before restoring water supply.
 Roto-Rooter Plumbing, Drain, & Water Damage Cleanup Services4.0 (1987 reviews)
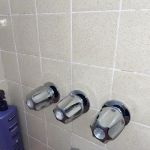 Chavez Plumbing & Rooter Inc4.0 (163 reviews)
 Pro Plumbers Inc Carson, CA4.0 (125 reviews)
 Hills Plumbing Contractors5.0 (5 reviews)
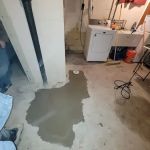 Comfy Kozy®️ Heating Cooling Plumbing4.0 (17 reviews)
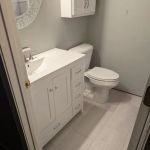 E.J. Willman & Sons Plumbing4.0 (58 reviews)
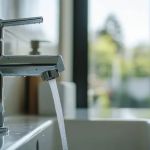 Understanding Water Hammer: Causes and Effective Solutions
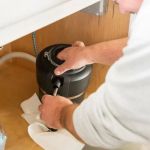 How to Install a New Garbage Disposal: Step-by-Step Plumbing Guide
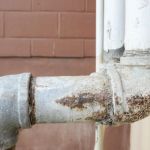 Signs You Need to Replace Old Plumbing Pipes
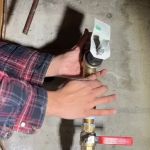 How to Install a Water Pressure Regulator: A DIY Plumbing Project
 Plumbing Tips for Making Your Bathroom More Water-Efficient
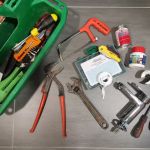 The Essential Plumbing Emergency Kit Every Homeowner Needs: Key Tools for Fast Fixes