
- How-to-Replace-Your-Water-Heaters-Thermostat-Overview
- Signs-Your-Thermostat-Needs-Replacement
- Tools-and-Safety-Preparation
- Step-by-Step-Replacement-Process
- Common-Mistakes-to-Avoid
- Real-Homeowner-Repair-Story
- Improving-Performance-After-Replacement
1. Understanding Why Thermostat Replacement Matters
If you’ve ever experienced inconsistent hot water—too cold one minute, scalding the next—you’re not alone. One of the most overlooked solutions is learning How to Replace Your Water Heater’s Thermostat for Better Performance.
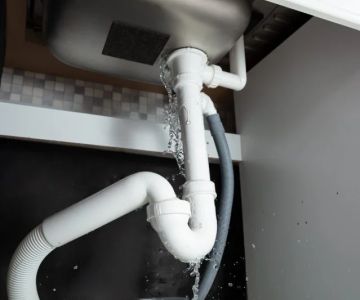
The thermostat is the control center of your water heater. It regulates temperature, ensures energy efficiency, and maintains comfort. When it starts to fail, your entire system becomes unreliable. Fortunately, replacing it is often simpler than homeowners expect, and it can dramatically improve performance without the cost of a full replacement.

Fondy Sewer and Drain
Fond du LacFond du Lac CountyWisconsin
843 Sterling Dr, Fond du Lac, WI 54935, USA
2. Signs Your Thermostat Is Failing
Before jumping into repairs, it’s important to confirm that the thermostat is actually the issue.

Rooter Man Plumbing
Los AngelesLos Angeles CountyCalifornia
16065 Foothill Blvd, Sylmar, CA 91342, USA
2.1 Inconsistent Water Temperature
If your water fluctuates unpredictably, the thermostat may no longer be accurately reading or controlling temperature levels.
2.2 No Hot Water at All
A completely failed thermostat can prevent heating elements from activating, leaving you with only cold water.
2.3 Water That’s Too Hot
Overheating can be dangerous and often signals a malfunctioning thermostat stuck in the “on” position.
2.4 Rising Energy Bills
An inefficient thermostat may cause the system to work harder than necessary, increasing electricity usage.
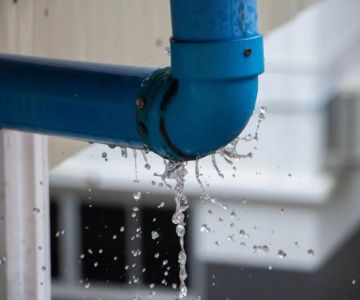
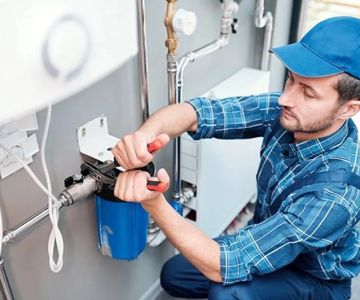
3. Preparing for a Safe and Efficient Repair
Replacing a thermostat involves both electricity and water, so preparation is critical.
3.1 Essential Tools
You’ll typically need:
3.1.1 Basic Equipment
1. Screwdriver
2. Multimeter for testing voltage
3. Replacement thermostat compatible with your unit
4. Insulated gloves for safety
3.2 Safety First
Always turn off power at the circuit breaker before starting. This step cannot be skipped. Even experienced DIYers treat this as non-negotiable.
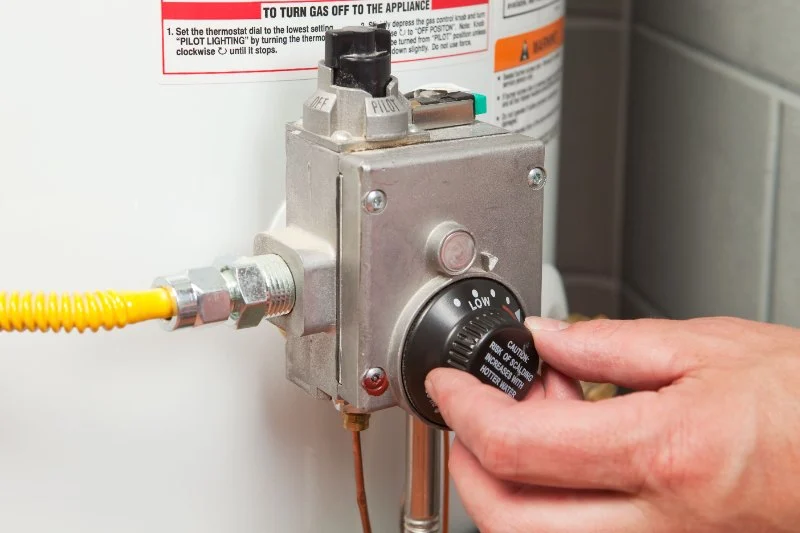
4. Step-by-Step Thermostat Replacement Process
Once you’re prepared, the actual replacement process is straightforward if done carefully.
4.1 Accessing the Thermostat
Remove the access panel on your water heater. Behind it, you’ll find insulation and a protective cover over the thermostat.
4.2 Testing Before Removal
Using a multimeter, confirm that the thermostat is not functioning properly. This step ensures you’re solving the correct problem.
4.3 Disconnecting and Replacing
4.3.1 Replacement Steps
1. Carefully disconnect the wires
2. Remove the old thermostat from its bracket
3. Install the new thermostat in the same position
4. Reconnect wires securely
4.4 Reassembling and Testing
Replace the cover, insulation, and panel. Turn the power back on and allow time for the water to heat. Monitor the temperature to confirm consistent performance.
5. Common Mistakes That Can Affect Performance
Even a simple repair can go wrong if certain details are overlooked.
5.1 Skipping Compatibility Checks
Not all thermostats fit every model. Using the wrong type can lead to further issues.
5.2 Loose Wiring Connections
Improper connections can cause intermittent heating or complete failure.
5.3 Ignoring Calibration Settings
After installation, adjusting the thermostat to the correct temperature—typically around 120°F—ensures safety and efficiency.
6. A Real Homeowner Experience
A homeowner in Texas noticed her showers becoming increasingly unpredictable. Some mornings there was barely any hot water, while other times it was excessively hot. Initially, she assumed the entire water heater needed replacement.
After researching How to Replace Your Water Heater’s Thermostat for Better Performance, she decided to try a simple fix first. With basic tools and a new thermostat, she completed the repair in under an hour.
The result? Stable water temperature, lower energy bills, and hundreds of dollars saved. Her experience highlights how a small component can make a big difference.
7. Maximizing Efficiency After Installation
Replacing the thermostat is just the beginning. A few additional steps can further enhance your system’s performance.
7.1 Regular Maintenance
Flushing the tank periodically removes sediment buildup, improving heating efficiency.
7.2 Insulating the Tank
Adding insulation helps retain heat, reducing the workload on your water heater.
7.3 Monitoring Performance Over Time
Keep an eye on temperature consistency and energy usage. Early detection of issues prevents larger problems later.
For those looking to upgrade components or find reliable replacement parts, many homeowners explore options through Plumbers Supply Hub. Having access to the right tools and compatible parts can make maintenance easier and more effective.
Understanding and applying How to Replace Your Water Heater’s Thermostat for Better Performance empowers you to take control of your home’s comfort while avoiding unnecessary expenses.

 Drain Masters Rooter & Plumbing4.0 (27 reviews)
 Roto-Rooter Plumbing & Water Cleanup4.0 (510 reviews)
 New Image Plumbing & Rooter5.0 (17 reviews)
 Munson’s Water Works of Madison County4.0 (123 reviews)
 Lane Plumbing Inc4.0 (138 reviews)
 Plumbers & Pipefitters Training5.0 (7 reviews)
 What Causes Discolored Water and When to Worry
 Why Your Toilet Tank Is Leaking and How to Fix It
 How to Replace a Floor Drain Cover That Is Damaged
 How to Route a New Plumbing Run in a Finished Basement – Step-by-Step Guide
 How to Choose Between Copper vs PEX for Plumbing: A Comprehensive Guide
 How to Repair a Slab Leak Under the Floor: Step-by-Step Expert Guide