
How to Replace a Toilet Tank Gasket
- 1 - Identify the Problem
- 2 - Turn Off the Water Supply
- 3 - Remove the Toilet Tank
- 4 - Replace the Gasket
- 5 - Reassemble and Test
If your toilet tank is leaking or you notice water around the base, the issue could be a worn-out or damaged gasket. Replacing the toilet tank gasket is an affordable and straightforward DIY task. In this guide, we’ll walk you through the process step by step, making it easy to understand and execute, even if you’ve never tackled plumbing repairs before. And if you need high-quality parts, check out Plumbers Supply Hub for the best tools and supplies.

PowerVac of West Michigan
Grand RapidsKent CountyMichigan
1701 Steele Ave SW, Grand Rapids, MI 49507, USA
1. Identify the Problem
Before starting any repairs, it's important to pinpoint the exact issue. A faulty tank gasket will typically cause water to leak between the tank and the bowl. If the leak is constant, even when the toilet isn’t flushed, the gasket is likely damaged. Take a moment to check for water pooling around the tank base, as this will help you confirm the gasket's condition.

Roto-Rooter Plumbing & Water Cleanup
204 S Ludlow St Ste 303, Dayton, OH 45402, USA
2. Turn Off the Water Supply
Safety and preparation are key. Begin by turning off the water supply to the toilet. You can typically find the shut-off valve near the floor, usually behind the toilet. Turn the valve clockwise to stop the water from flowing into the tank. Once the water is turned off, flush the toilet to empty the tank and reduce the water level for a more manageable repair.
3. Remove the Toilet Tank
With the water drained, the next step is to carefully detach the toilet tank. Start by loosening the bolts that secure the tank to the toilet bowl. These bolts are usually located at the back of the tank. Use a wrench or pliers to loosen the nuts, being cautious not to crack the tank. If the bolts are rusted or stubborn, you may need penetrating oil to help loosen them.
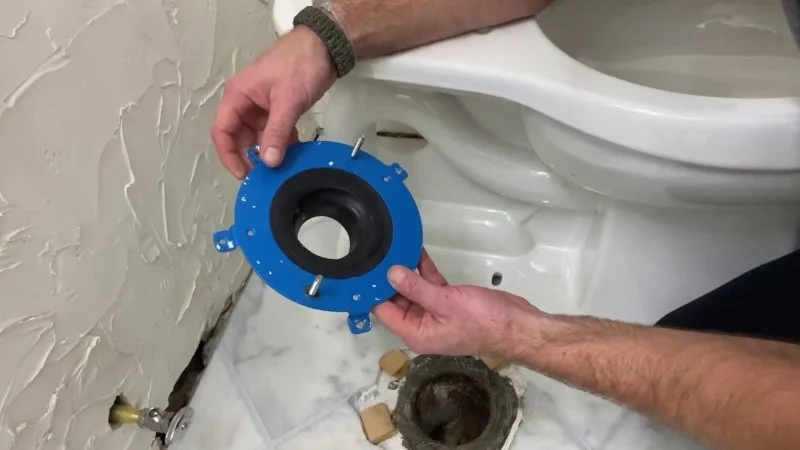
4. Replace the Gasket
Once the tank is removed, you will have access to the old gasket. Carefully remove the old gasket and inspect the area for any debris or buildup. Clean the surface with a soft cloth to ensure the new gasket sits properly. Place the new gasket into position, making sure it aligns correctly. It's essential to use a high-quality gasket that is compatible with your toilet model to avoid leaks.
5. Reassemble and Test
Now that the new gasket is in place, reassemble the toilet by reversing the steps. First, carefully reposition the tank back onto the toilet bowl, ensuring that the gasket remains in place. Tighten the bolts securely but avoid over-tightening, which could crack the tank. Once the tank is securely in place, turn on the water supply, and check for leaks by flushing the toilet several times. If there are no leaks, congratulations, you’ve successfully replaced your toilet tank gasket!
If you encounter any difficulties along the way, remember that professional help is always an option. You can find reliable plumbing services and top-quality parts at Plumbers Supply Hub to ensure your toilet is functioning properly.


 Simon Plumbing Inc Mokena4.0 (55 reviews)
 Jim & Dude's Plumbing Heating & Air Conditioning4.0 (113 reviews)
 Thompson Brothers Plumbing4.0 (59 reviews)
 Gillespie Co4.0 (7 reviews)
 Zgorski Micketti Plumbing Inc4.0 (16 reviews)
 First Choice Plumbing4.0 (59 reviews)
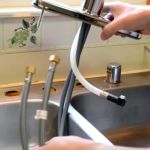 How to Fix a Leaky Faucet Under the Sink - Plumbers Supply Hub
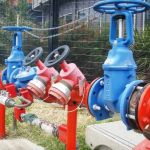 How to Test Backflow Preventers Annually: Essential Maintenance for Safe Water Supply
 How to Clean Residue and Scale from Faucets and Showerheads
 When to Call a Professional for Sewer Line Issues
 The Essential Plumbing Emergency Kit Every Homeowner Needs: Key Tools for Fast Fixes
 How to Repair a Slab Leak Under the Floor