
How to Fix Water Leaks Around a Bathtub Enclosure
- 1. Understanding the Causes of Water Leaks Around Bathtub Enclosures
- 2. How to Identify Water Leaks Around a Bathtub Enclosure
- 3. Fixing Water Leaks Around Bathtub Enclosures
- 4. Preventative Measures to Avoid Future Leaks
- 5. Recommended Products and Services from Plumbers Supply Hub
1. Understanding the Causes of Water Leaks Around Bathtub Enclosures
Water leaks around bathtub enclosures are a common problem faced by homeowners, and they can lead to significant damage if not addressed quickly. Understanding the root causes of these leaks is crucial to fixing the issue effectively and preventing it from reoccurring. Common causes of water leaks include worn-out caulk, cracked grout, and issues with plumbing connections.
Worn-out caulking or seals around the tub can easily allow water to seep through, especially when exposed to constant moisture. Additionally, cracks in the grout or tile can provide entry points for water to escape. Lastly, plumbing issues, such as loose pipes or faulty connections, can also cause water to leak from the tub enclosure area.
2. How to Identify Water Leaks Around a Bathtub Enclosure
1. Visual Inspection
The first step in identifying water leaks is to visually inspect the bathtub enclosure. Look for signs of water damage on the walls, floors, and surrounding areas. Water stains, discoloration, and mold growth are key indicators that there is a leak present. Pay close attention to the seams between the tub and wall, as well as around the faucet and showerhead.

2. Checking the Caulking and Grout
Examine the caulk or grout around the tub for any cracks, gaps, or signs of wear. Over time, caulking can degrade, and grout can crack, allowing water to seep behind the tiles. If you notice any compromised areas, they are likely the source of the leak. Press gently on the caulk to check for any soft spots that may indicate deterioration.
3. Conducting a Water Test
If you cannot visibly locate the source of the leak, perform a water test to pinpoint the issue. Use a spray bottle or a garden hose to spray water over different areas of the bathtub and surrounding walls. Have someone inside the tub to monitor for any signs of water appearing on the floor or walls to identify where the leak may be originating.
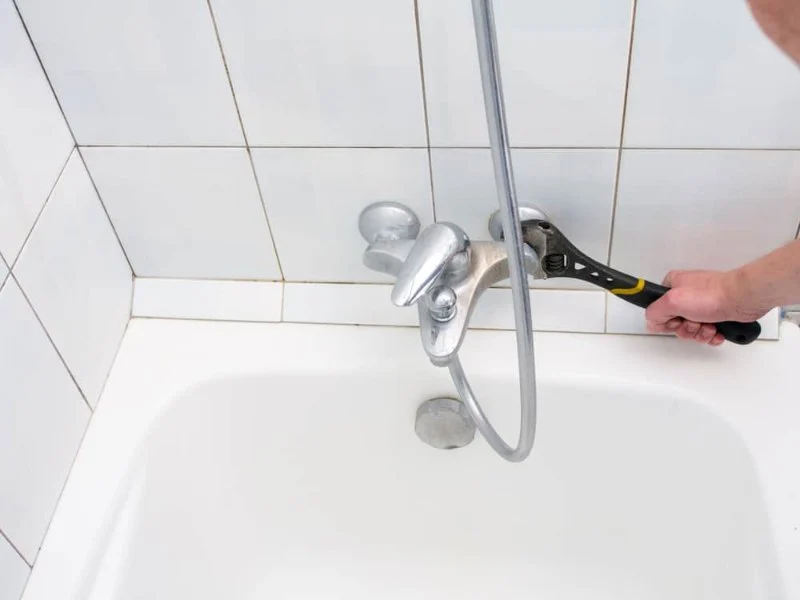
3. Fixing Water Leaks Around Bathtub Enclosures
1. Replacing or Resealing the Caulk
If the source of the leak is damaged or worn-out caulk, removing the old caulk and replacing it with fresh caulk is the most straightforward solution. Begin by using a caulk remover to carefully strip away the old material. Clean the area thoroughly before applying a high-quality bathroom caulk designed for wet areas. Apply the new caulk smoothly and ensure it forms a tight seal along all seams.
2. Repairing Cracked Grout
If the leak is due to cracked grout, you will need to repair or replace it. Start by removing the damaged grout using a grout removal tool or a utility knife. Clean the area to remove any dust or debris, then apply new grout using a grout float. Smooth the grout evenly and wipe away any excess before allowing it to dry completely. Seal the grout with a grout sealer to help prevent future damage and water penetration.
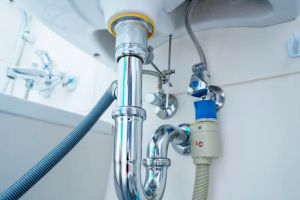
3. Fixing Plumbing Leaks
For plumbing issues, such as leaks from pipes or connections behind the bathtub, you may need to call a professional plumber. However, you can attempt to fix minor leaks yourself by tightening loose plumbing connections or replacing faulty washers and seals. If the leak is more severe or requires pipe replacement, it is best to rely on a professional plumber to handle the repairs safely and efficiently.
4. Preventative Measures to Avoid Future Leaks
1. Regular Inspection and Maintenance
To prevent water leaks from occurring in the future, it is important to regularly inspect the caulking, grout, and plumbing connections around your bathtub. Check for signs of wear or damage at least once every six months and reapply caulk or grout as needed. Performing routine maintenance can help you catch small issues before they turn into major problems.
2. Use Waterproof Seals and Products
Consider using waterproofing products such as water-resistant caulks and sealers designed for bathroom use. These products are formulated to withstand the constant exposure to moisture, helping to create a durable barrier against leaks.
3. Ventilation and Drying
Ensure that your bathroom is properly ventilated to reduce moisture buildup. Install an exhaust fan if necessary and make sure it is functioning properly. After showers or baths, wipe down the walls and bathtub to remove excess water and prevent mold growth and water damage.
5. Recommended Products and Services from Plumbers Supply Hub
If you are looking for high-quality caulk, grout, or other plumbing supplies to fix water leaks around your bathtub enclosure, visit Plumbers Supply Hub. We offer a wide range of products, from waterproof caulking to durable grout and plumbing tools, that are perfect for DIY repairs or professional use. Additionally, we recommend trusted plumbers in your area for more advanced leak repair services.
Explore our site today to find everything you need to keep your bathtub enclosure watertight and your bathroom in top condition!


 Rescue Plumbing4.0 (28 reviews)
 CastleWorks Water Heaters0.0 (0 reviews)
 Pelke Plumbing & Well Drilling Inc5.0 (40 reviews)
 Z Plumberz of Livingston5.0 (124 reviews)
 Fowler Home Services5.0 (28 reviews)
 Solace Plumbing Heating and Air | Emergency Plumber, Sewer Repair, Water Heater Repair, AC and Heating Repair Upland, CA4.0 (308 reviews)
 Why Your Sump Pump Runs Excessively and How to Limit It
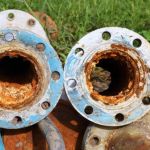 How to Replace a Galvanized Pipe in Your Home
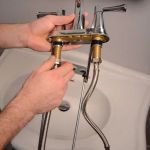 How to Install a New Sink Faucet: A Complete DIY Guide
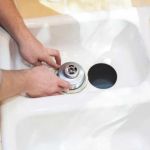 How to Repair a Clogged Garbage Disposal: Troubleshooting Tips
 How to Protect Pipes from Freezing in Cold Climates
 How to Install a Water Meter for Irrigation