
- 1-Understanding Pressure Reducing Valves
- 2-Signs Your Pressure Reducing Valve Needs Replacement
- 3-Tools You’ll Need for Replacing the Valve
- 4-Step-by-Step Guide to Replacing the Valve
- 5-Common Mistakes to Avoid
- 6-When to Call a Professional
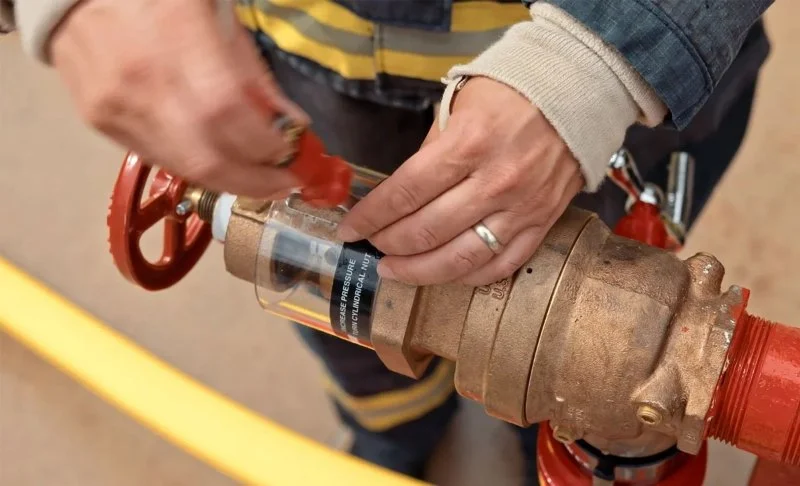
1. Understanding Pressure Reducing Valves
A Pressure Reducing Valve (PRV) is an essential component in your plumbing system that helps control the water pressure entering your home. By reducing high incoming water pressure, it protects pipes, appliances, and fixtures from damage. PRVs are typically found where the water supply enters the building and are especially crucial in areas with high municipal water pressure.
While these valves are built to last, they can eventually malfunction, leading to issues such as low water pressure, inconsistent water flow, or even water hammering noises. Replacing a malfunctioning PRV is a crucial task to maintain the efficiency of your plumbing system.
Artisan Plumbing And Design
MooresvilleMorgan CountyIndiana
1258 E Greencastle Rd, Mooresville, IN 46158, USA
2. Signs Your Pressure Reducing Valve Needs Replacement
A malfunctioning PRV can cause various issues that affect the overall performance of your plumbing system. Recognizing these signs early can help prevent more significant problems:
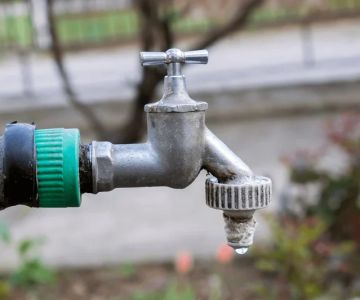
- Low Water Pressure: If you notice a significant drop in water pressure throughout the house, it may indicate that the PRV is no longer regulating the flow properly.
- Fluctuating Water Pressure: Inconsistent water pressure, where the pressure surges and then drops suddenly, is another common symptom of a malfunctioning PRV.
- Water Hammering Noises: A rattling or banging sound when you turn off a faucet is a classic sign of high pressure within the pipes, which a PRV is supposed to regulate.
- Visible Damage or Leaks: If you notice leaks or visible corrosion around the valve, it's time to replace the PRV before the damage spreads.
Real-Life Example: John had a persistent low water pressure issue in his kitchen and bathroom. After replacing his malfunctioning PRV, the water pressure returned to normal, improving his shower experience and making dishwashing much easier.

3. Tools You’ll Need for Replacing the Valve
Replacing a PRV is a manageable DIY task, but you’ll need the right tools to ensure a smooth process. Here's a list of tools you’ll need:
- Pipe Wrench: For loosening and tightening the nuts and connections.
- Adjustable Wrench: Handy for any smaller adjustments during the installation.
- Hacksaw or Pipe Cutter: To cut through any old pipes if needed.
- Thread Sealant: To ensure a leak-free connection when attaching the new valve.
- New Pressure Reducing Valve: Make sure to choose the correct size and pressure rating for your system.
4. Step-by-Step Guide to Replacing the Valve
Follow these simple steps to replace your pressure reducing valve:
1. Shut off the Water Supply: Before starting, turn off the main water supply to avoid any water spillage during the replacement.
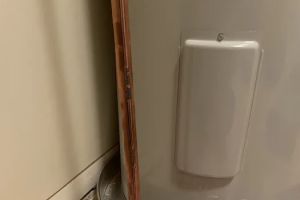
2. Locate the Old PRV: The PRV is usually located near where the water enters your home. It will typically be attached to the incoming water pipe.
3. Remove the Old Valve: Use your pipe wrench to loosen the nuts and remove the old valve. Be careful not to damage the surrounding pipes.
4. Prepare the New Valve: Apply thread sealant to the threads of the new PRV. This will help create a tight seal and prevent leaks.
5. Install the New Valve: Position the new PRV in place and tighten the connections with your wrench. Ensure it is secure and properly aligned.
6. Turn on the Water Supply: Once the new valve is installed, turn the water supply back on and check for leaks around the valve. Test the water pressure to ensure everything is functioning correctly.
5. Common Mistakes to Avoid
Even though replacing a PRV is a straightforward task, there are some common mistakes to avoid to ensure a successful replacement:
- Not Turning Off the Water Supply: Forgetting to shut off the water can result in a messy situation with water flowing uncontrollably during the replacement.
- Incorrect Valve Sizing: Make sure to select the correct size PRV that matches your plumbing system. A wrong size can lead to inefficiency and improper pressure regulation.
- Not Checking for Leaks: After installation, always check the connections for leaks. Even a small leak can lead to bigger problems over time.
Case Study: Mike replaced his PRV but didn’t check the connections carefully afterward. A slight leak went unnoticed for a few days, leading to a gradual increase in water pressure. A quick tightening of the connections fixed the issue.
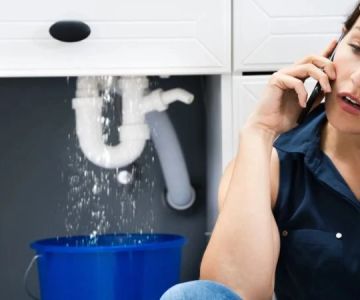
6. When to Call a Professional
If you're unsure about the process or the valve replacement seems too complex, it’s always best to call a professional plumber. A skilled plumber can ensure the job is done correctly, and they can also check the entire system for any other underlying issues.
Additionally, if your water pressure is consistently too high or too low after replacing the PRV, a professional can fine-tune the valve or recommend a better solution.
Tip: If you're not confident in your ability to replace the PRV, consult with an expert at Plumbers Supply Hub for advice on choosing the right products and getting professional installation.


 Ed Rike Plumbing Heating & Air4.0 (548 reviews)
 Great Lakes Plumbing Services, LLC4.0 (293 reviews)
 Perkins Plumbing4.0 (44 reviews)
 Styes Plumbing Co4.0 (11 reviews)
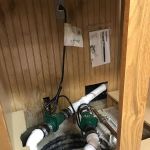 Sigma Pro Plumbing LLC5.0 (603 reviews)
 Valley Plumbing4.0 (233 reviews)
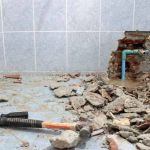 How to Recognize the Early Signs of Plumbing Problems Before They Become Expensive
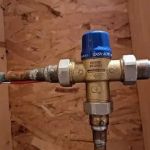 How to Replace a Mixing Valve for Tempered Water
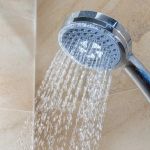 How to Fix a Leaky Showerhead in Just a Few Steps
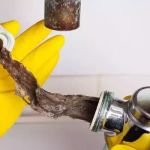 How to Clean Sediment Build-Up in Household Pipes
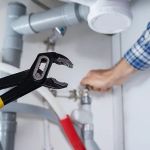 How to Maintain Your Plumbing System to Avoid Costly Repairs
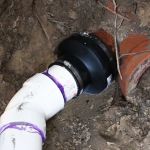 How to Replace a Broken Pipe in a Slab Foundation | Plumbers Supply Hub