
How to Replace a Broken Plumbing Pipe Without Taking Down the Walls
- Introduction: The Challenge of Fixing Pipes Without Demolition
- Tools and Materials You’ll Need
- Step-by-Step Guide to Replacing a Broken Pipe
- Expert Tips for a Successful Repair
- Real-Life Example: How I Repaired My Own Pipe Without Tearing Down the Wall
1. Introduction: The Challenge of Fixing Pipes Without Demolition
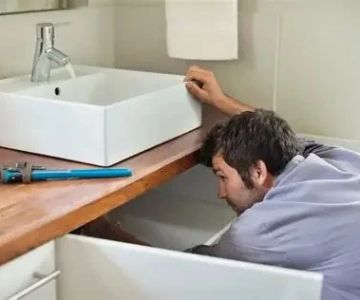
When a plumbing pipe breaks, it often leads to panic and the assumption that major demolition is required. However, it is possible to replace a broken plumbing pipe without the need to tear down walls, saving time and money. This guide will help you tackle the issue of replacing a broken plumbing pipe with minimal disruption to your home.
Not only is this approach cost-effective, but it also allows you to avoid unnecessary repairs to drywall or other elements of your home. Let’s take a closer look at how to replace a broken pipe without causing a mess.
Flush Drain & Sewer Cleaning A Division of JT Schmidt Plumbing Inc
Combined LocksOutagamie CountyWisconsin
419 S Washington St, Combined Locks, WI 54113, USA
2. Tools and Materials You’ll Need
Before you start, make sure you have all the necessary tools and materials. Here’s a list of what you’ll need:
- Pipe cutter or hacksaw: For cutting the broken section of the pipe.
- Replacement pipe: Match the size and material of the existing pipe.
- Pipe connectors or fittings: These will allow you to connect the new pipe to the existing plumbing system.
- Plumber's tape: To ensure tight connections and prevent leaks.
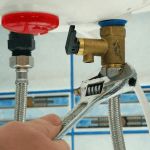
- Pipe wrench: Useful for loosening and tightening connections.
- Gloves and safety goggles: To protect yourself from debris and sharp edges.
3. Step-by-Step Guide to Replacing a Broken Pipe
Now, let’s walk through the steps to replace a broken pipe efficiently:
3.1 Turn Off the Water Supply
The first and most important step is to turn off the water supply to your home to avoid further damage. Locate the main shut-off valve and turn it off. If only one section of your plumbing is affected, you can just shut off the valve to that specific line.
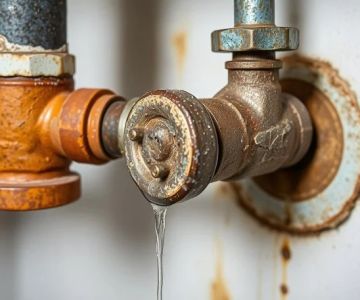
3.2 Locate the Break in the Pipe
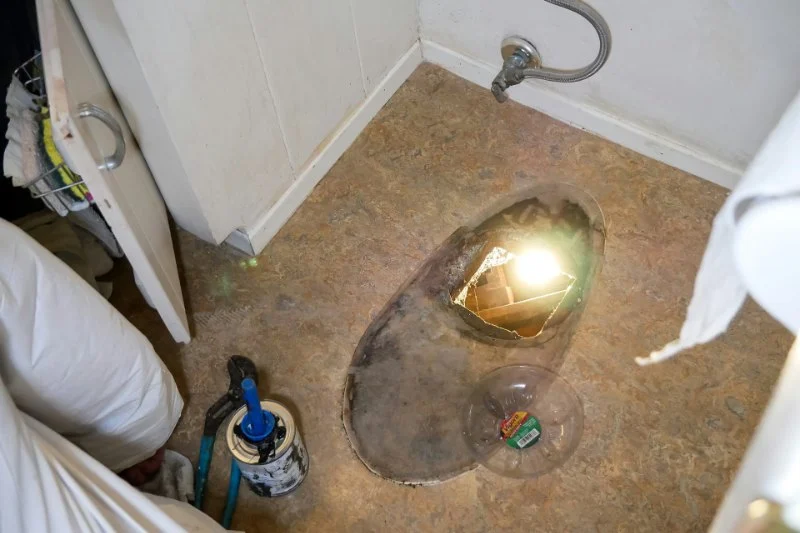
Identify the exact location of the broken pipe. You may need to remove some drywall or access panels to reach the damaged area. Once you locate the pipe, assess the extent of the damage to determine if you need to replace a small section or the entire length.
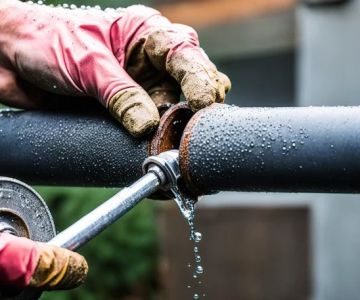
3.3 Cut the Broken Section of the Pipe
Using a pipe cutter or hacksaw, carefully cut out the damaged section of the pipe. Make sure your cuts are straight to ensure a tight connection when you install the new pipe.
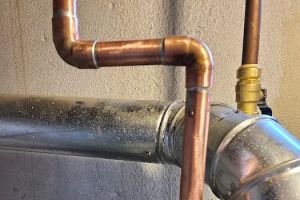
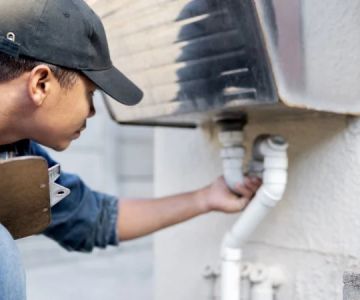
3.4 Install the New Pipe Section
Fit the new pipe into place, using connectors and fittings to secure it. Make sure everything aligns properly and is tight enough to avoid leaks. For extra security, you can use plumber's tape on the threads to ensure a waterproof seal.
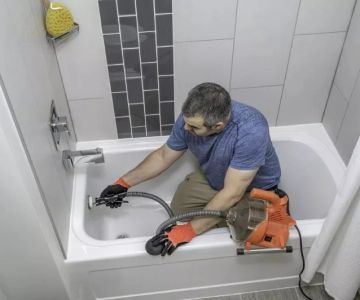
3.5 Test the Repair
Once the new pipe is in place, turn the water supply back on and check for leaks. Run water through the pipe to test the flow and ensure everything is functioning properly. If there are no leaks and the water is flowing freely, you’ve successfully replaced the broken pipe.
4. Expert Tips for a Successful Repair
To help ensure your repair goes smoothly, here are a few expert tips:
- Be cautious with the materials: Make sure you’re using the correct materials for your plumbing system. For instance, use PVC for drain lines and copper or PEX for water supply lines.
- Measure twice, cut once: Always double-check the measurements before cutting the pipe to avoid mistakes.
- Seal connections properly: Use plumber's tape or sealant to ensure the joints are sealed tightly and prevent any future leaks.
- Consider professional help: If the damage is extensive or you’re unsure about the repair, don’t hesitate to contact a professional plumber for assistance.
5. Real-Life Example: How I Repaired My Own Pipe Without Tearing Down the Wall
John, a homeowner from California, shared his experience: “I had a pipe break in the wall behind my kitchen sink, and I was dreading the thought of tearing down the drywall. However, I followed the steps above, used a replacement section of PVC pipe, and within a few hours, I had the problem fixed. The best part was that there was no need to replace the drywall, saving me a lot of time and money!”
John’s story highlights how even complicated repairs can be done without extensive demolition when you approach the project methodically and have the right tools and materials.
Conclusion
Replacing a broken plumbing pipe doesn’t have to involve tearing down walls. By following the steps above, you can fix the problem without causing major disruption to your home. Whether you’re dealing with a small pipe issue or a larger problem, it’s essential to approach the repair with care and the right tools.
If you’re looking for plumbing supplies or need advice, visit Plumbers Supply Hub for the best products and services to ensure a successful repair.

 Sentry Plumbing5.0 (1 reviews)
 Moede & Sons Inc4.0 (29 reviews)
 Hayes Mechanical0.0 (0 reviews)
 South Park Plumber's4.0 (42 reviews)
 Hoss Plumbing LLC5.0 (10 reviews)
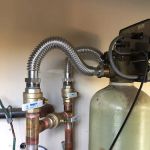 Elser Plumbing5.0 (5 reviews)
 How to Prevent Toilet Clogs: Simple Tips Every Homeowner Should Know
 When to Replace a Garbage Disposal Rather Than Repairing It
 How to Replace a Kitchen Sink Sprayer Hose: Step-by-Step Guide
 How to Replace a Shower Glass Door Without Causing Leaks
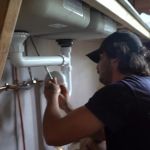 How to Inspect Plumbing After a Flood Event | Essential Steps for Homeowners
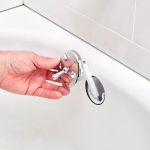 htmlCopy codeHow to Repair a Loose Bathtub Overflow Plate