
1. How to Seal Gaps Around Pipes Passing Through Walls
Sealing gaps around pipes passing through walls is an essential step in maintaining your home’s energy efficiency and preventing drafts, water leaks, and unwanted pests. These gaps, if left unchecked, can lead to a variety of problems, including higher heating and cooling costs, water damage, and a pathway for insects or rodents to enter your home. In this guide, we’ll walk you through the best methods for sealing gaps around pipes, ensuring that your home remains safe, comfortable, and energy-efficient.
- Why Sealing Gaps Around Pipes is Important
- Tools and Materials Needed for Sealing
- Step-by-Step Guide to Sealing Gaps Around Pipes
- Common Mistakes to Avoid When Sealing Pipes
- Why Choose Plumbers Supply Hub for Your Sealing Needs
2. Why Sealing Gaps Around Pipes is Important
Gaps around pipes can be found in many areas of your home, including under sinks, around bathroom or kitchen pipes, and even where water lines enter the walls or floors. These gaps are often ignored, but they can lead to significant issues:
- Energy Efficiency: Unsealed gaps allow air to escape, making it harder to maintain the desired temperature in your home. This can increase heating and cooling costs as your HVAC system works harder to compensate for air leakage.
- Water Damage: Gaps around pipes can lead to water leaks, especially in areas where plumbing is connected to drains or water lines. Over time, this can cause mold, rot, or structural damage to the walls.
- Insects and Rodents: Small gaps around pipes can provide easy access for pests like ants, cockroaches, or even mice to enter your home. Sealing these gaps can help keep unwanted visitors out.
- Noise Reduction: Sealing gaps around pipes can also help reduce sound transmission between rooms, providing a quieter living environment.
3. Tools and Materials Needed for Sealing
Before you begin sealing the gaps around pipes, you’ll need a few basic tools and materials. Here’s a list of what you’ll need to get the job done:
3.1 Caulk or Foam Sealant
One of the most effective materials for sealing gaps is caulk or foam sealant. Caulk is ideal for smaller gaps, while foam sealant works well for larger spaces. Both options are available in different formulas, such as silicone, acrylic, and polyurethane, so choose the one that best suits the material of your wall or pipe.

3.2 Caulking Gun
If you’re using caulk, a caulking gun will make application much easier. It allows for precise control and helps you apply an even bead of caulk around the pipe.
3.3 Utility Knife or Scissors
Once the sealant is applied, you’ll need a utility knife or scissors to trim excess caulk or foam for a neat and professional finish.
3.4 Cleaning Supplies
Before sealing, it’s important to clean the area around the pipe to ensure that the sealant adheres properly. Use a cloth and mild cleaning solution to wipe down the surfaces of the pipe and the wall around it.
4. Step-by-Step Guide to Sealing Gaps Around Pipes
Now that you have your tools and materials ready, here’s a step-by-step guide to sealing gaps around pipes:
4.1 Clean the Area
Start by cleaning the area around the pipe where it enters the wall. This will remove any dirt, dust, or debris that could interfere with the sealant’s adhesion. Use a cloth or paper towel with a mild cleaner, ensuring the surface is dry before moving on to the next step.
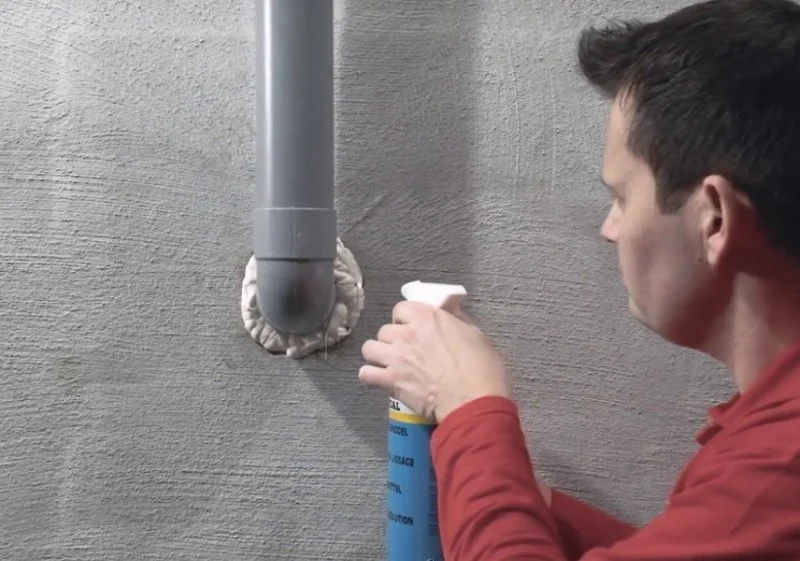
4.2 Apply the Sealant
Using your caulk or foam sealant, apply a thin layer around the base of the pipe where it meets the wall. For caulk, apply a continuous bead, pressing the nozzle of the caulking gun into the gap. For foam sealant, insert the nozzle into the gap and apply the foam, allowing it to expand and fill the space.
Make sure to cover the entire gap, but avoid over-applying, as excess sealant can be trimmed later.
4.3 Smooth the Sealant
After applying the sealant, smooth it out with your finger or a caulking tool to ensure a clean, even surface. This will also help the sealant fill any small gaps that may remain.
4.4 Let the Sealant Dry
Allow the sealant to dry according to the manufacturer’s instructions. Silicone caulk typically takes 24 hours to fully cure, while foam sealant may dry faster but still needs time to expand and harden.
4.5 Trim Excess Sealant
Once the sealant has dried, use a utility knife or scissors to trim any excess material, creating a neat and tidy finish. Be careful not to cut too close to the wall, as you want to maintain the integrity of the seal.
5. Common Mistakes to Avoid When Sealing Pipes
Sealing gaps around pipes may seem straightforward, but there are a few common mistakes you should avoid to ensure the job is done correctly:
5.1 Not Cleaning the Area First
Failing to clean the area around the pipe before applying sealant can cause poor adhesion, resulting in gaps or leaks. Always clean the surfaces thoroughly before starting.
5.2 Using the Wrong Type of Sealant
Make sure you use the appropriate sealant for the type of pipe and wall material. Some sealants may not adhere well to certain materials, so check the product specifications to ensure compatibility.
5.3 Overfilling the Gap
Applying too much sealant can cause it to spread unevenly or create an unsightly mess. Always apply just enough to fill the gap, and trim any excess after it dries.
6. Why Choose Plumbers Supply Hub for Your Sealing Needs
At Plumbers Supply Hub, we offer a wide range of high-quality sealants and plumbing tools to help you with all your pipe sealing needs. Whether you’re a DIY enthusiast or a professional plumber, we have the right products to ensure your home is properly sealed and protected. Our products are designed for durability and ease of use, making your plumbing maintenance projects more efficient and effective.
Visit Plumbers Supply Hub today for expert advice and top-quality products to handle all your sealing needs.


 Rush Plumbing & Rooter3.0 (6 reviews)
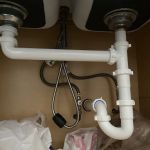 Duke’s Plumbing & Drain5.0 (7 reviews)
 Woods Plumbing & Heating5.0 (1 reviews)
 Bartholomew Plumbing & Heating Co3.0 (20 reviews)
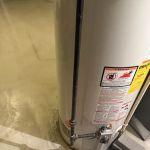 More Than Plumbing2.0 (121 reviews)
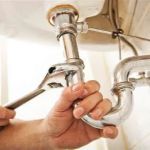 Aqua Plumbing4.0 (15 reviews)
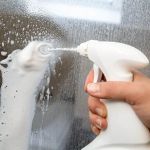 How to Clean Lime Scale from Shower Doors
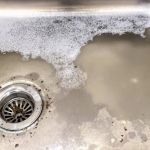 Why Your Kitchen Sink Is Clogged and How to Fix It
 Step-by-Step Guide to Installing a Radiant Floor Heating Plumbing Loop
 How to Clean and Maintain Your Shower Head for Better Flow
 How to Test a Backwater Valve in Your Sewer Line: A Step-by-Step Guide
 How to Detect a Hidden Slab Leak: A Complete Guide for Homeowners